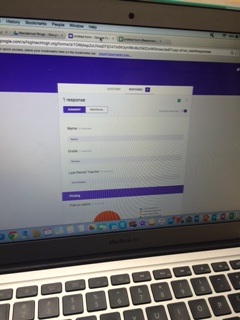
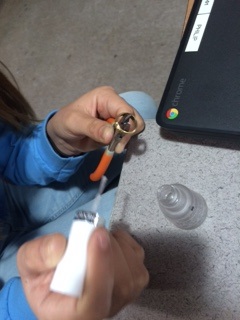
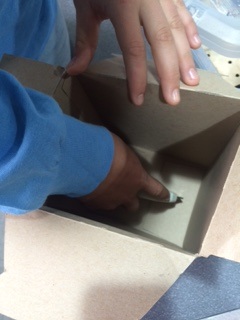
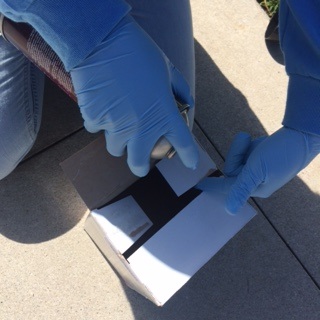
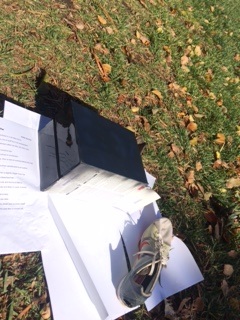
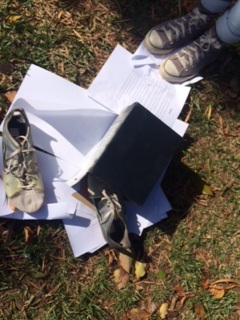
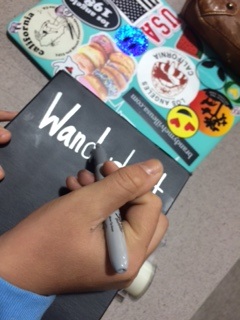
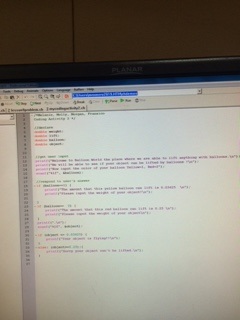
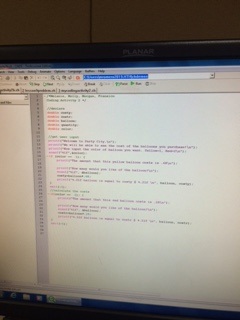
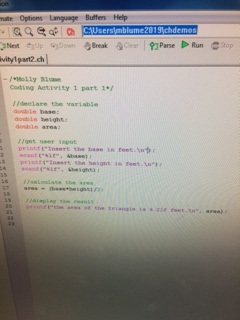
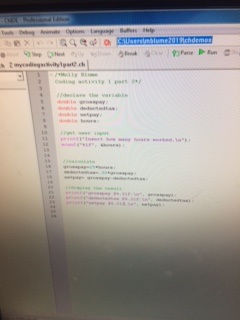
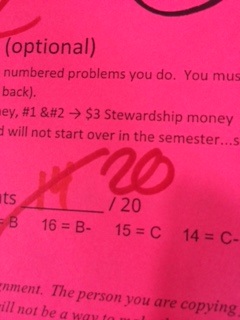
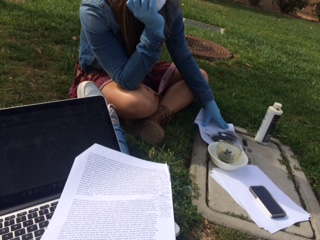
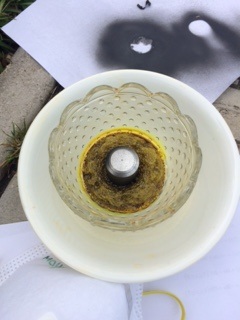
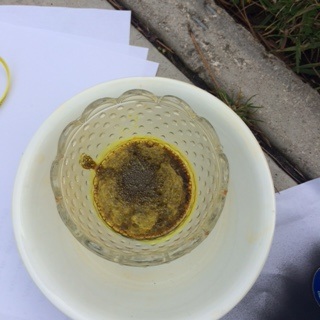
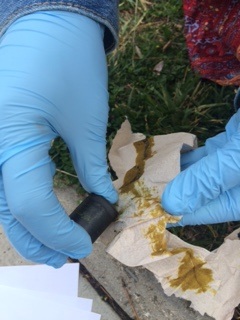
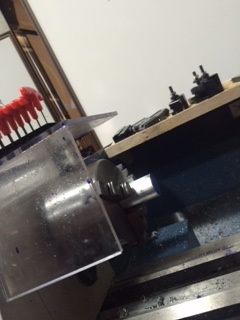
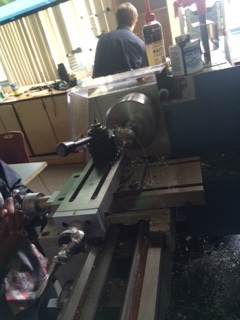
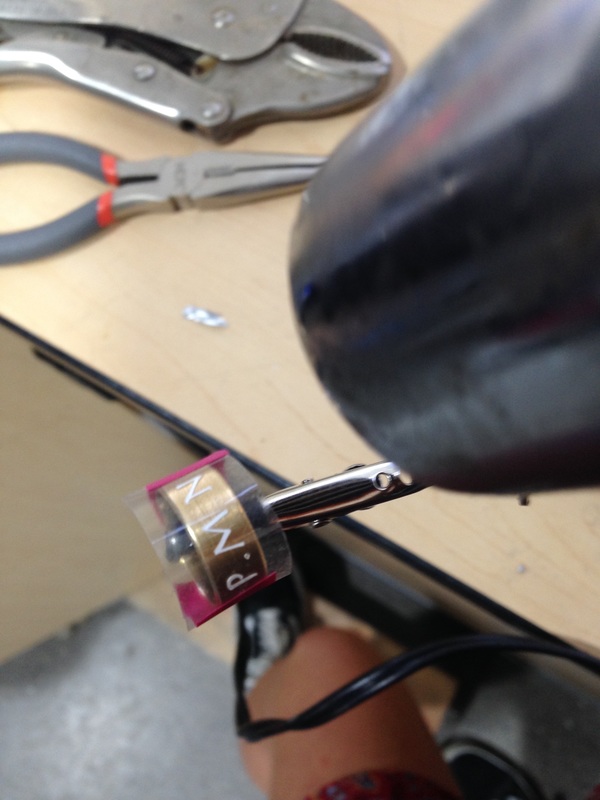
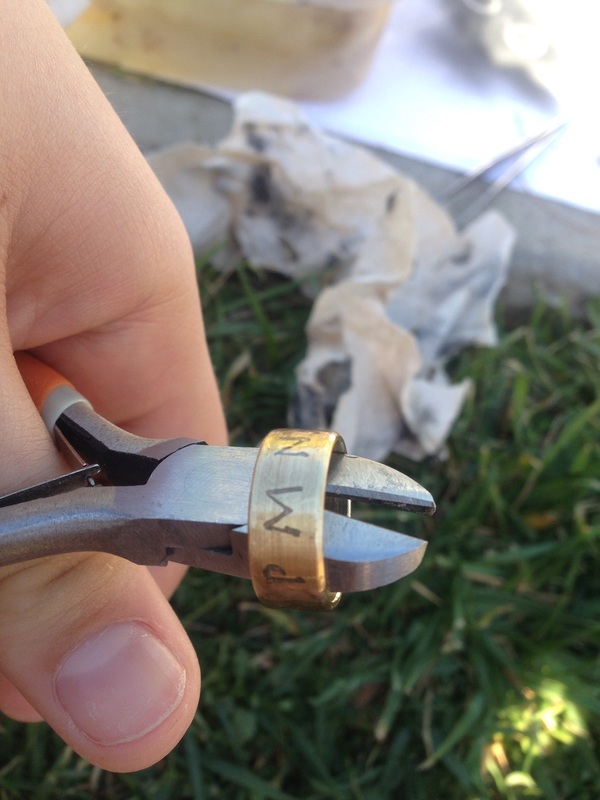
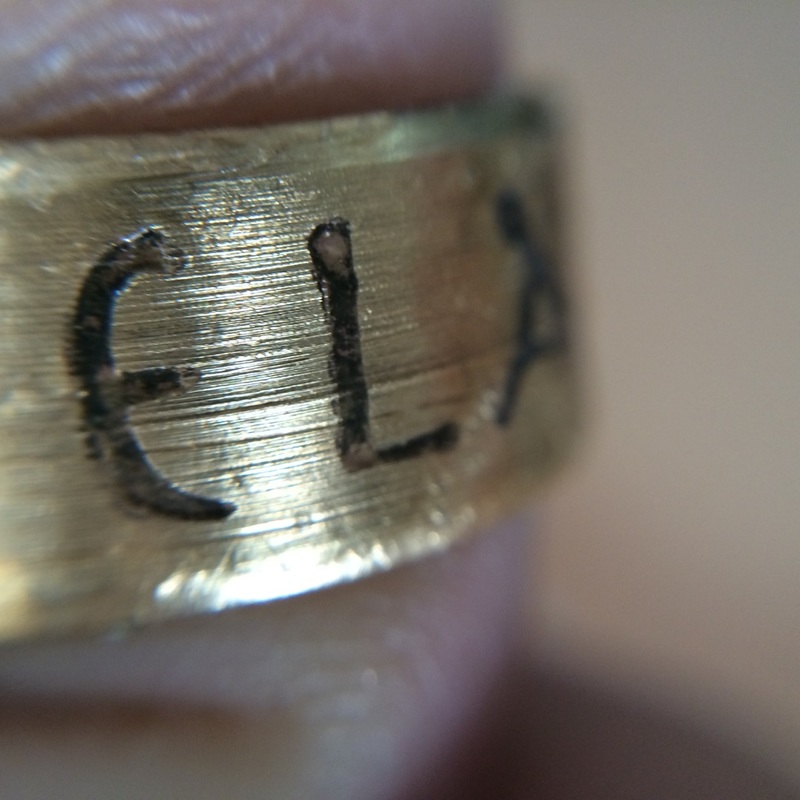
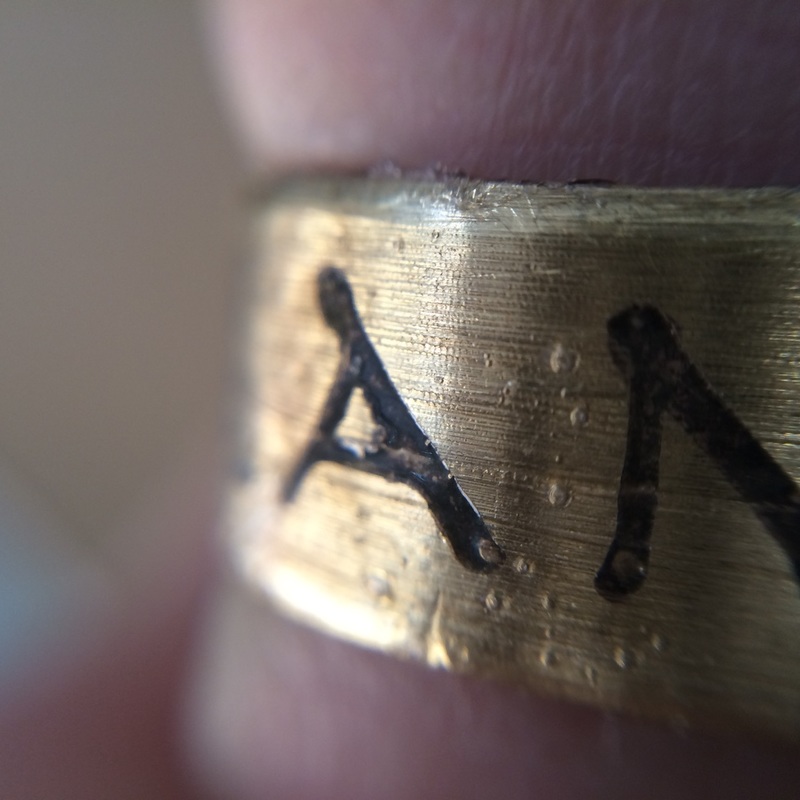
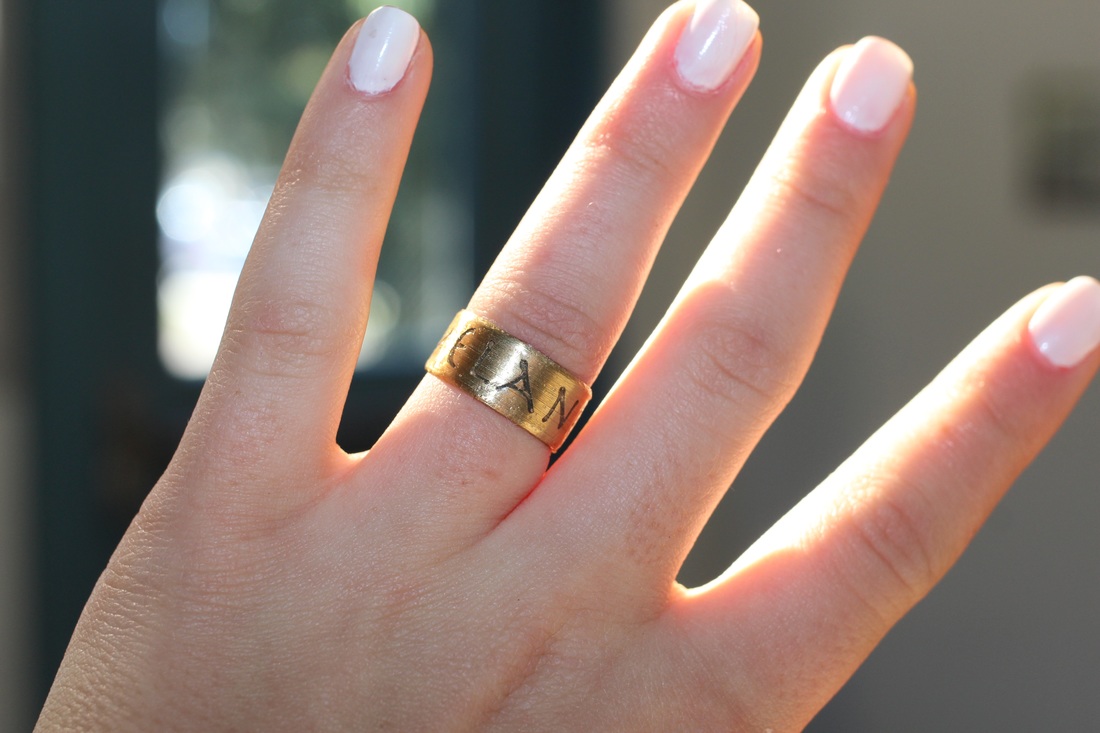
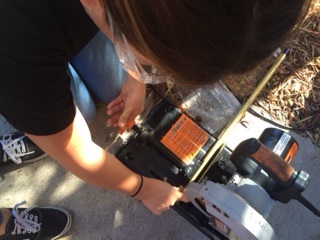
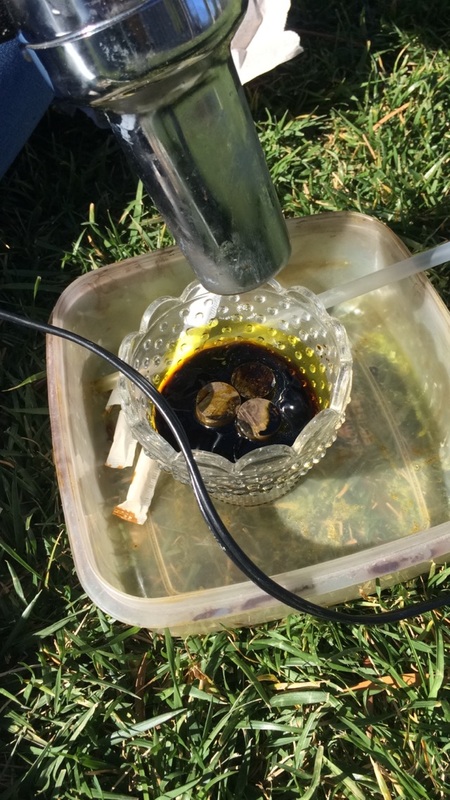
March 7, 2016Monday Rachel and I finished up the online survey form for the ring orders. After we finished we found an extra cardboard box and cut out slits and re-glued parts of the box to make it stay and so it is available to put money in it easily. We then went back outside and spray painted the box black and then got silver and gold sharpies and wrote "Wanderlust Rings" on the front of the box so people know where to drop off their money. This is for them to not only pay us, but they will also check in with us to write their ring sizes and have us get started on their rings. We also got a few of our old rings and added the clear coating to seal the ring for me. March 8, 2016Tuesday I was mainly working on my coding that was due Wednesday. It was very difficult and I didn't get close to finishing it during regular math so I decided to work on it during physics. I thought it would be fine to work on something other then physics during this class because now Rachel and I, our jobs our way easier. We are mainly waiting for order forms to come in, so we can get started on creating the rings. March 9, 2016Wednesday we had Advisory Olympics during the time we would be at Physics. March 10, 2016Thursday I finished up some math that I didn't get to in a while. I fixed and finished 2 coding assignments and what once was a 14/20 is now a 20/20. After that Rachel and I weren't too sure what to do, even though we did get order forms, we didn't want to make a ring without someone paying us first. Plus we also needed the materials but Rachel said she would get them over this weekend. We decided to try the acid on Aluminum because we saw some videos and it bubbled up and didn't work out. We tried it and almost immediately the metal started up some bubbles, but we wanted to see what else would happen. We took out the Aluminum and cleaned it all up, it ended up not looking bad at all, but we didn't want to risk anything so we added in on the forms that Aluminum will not be allowed to have any engraving, well at least not with the method that we use. Also while waiting around for the etching, I started to work on my writing piece in Humanities and I answered a survey that was sent in from Rachel Hatch. March 11, 2016Friday I worked on this blog, and then Rachel and I started on Pablo's ring. We measured his finger and then got the aluminum and started to create it. Rachel had to leave early, but we both wanted me to wait so we could do it together, so I just finished that section we were working on before she left. I didn't have anything to do really, in any of my classes, so I cleaned the Lathe. From 2:09 to 2:50 I was deep cleaning it up. I threw away all the extra metal scraps and then moved everything that was on it to the side and wiped down the Lathe with paper towels to clean up some of the grease. Once finished I did the Friday blog.
0 Comments
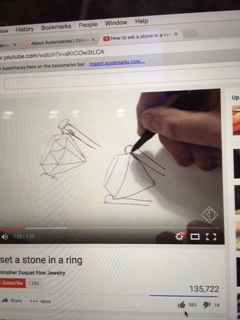
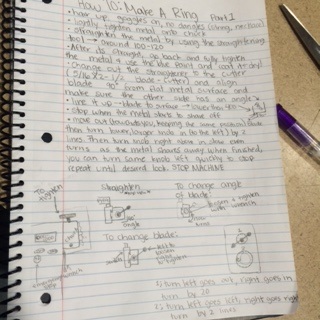
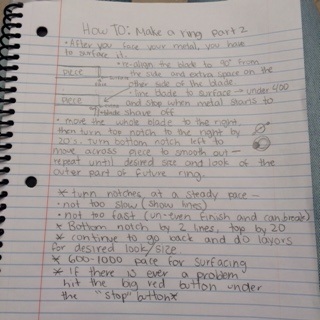
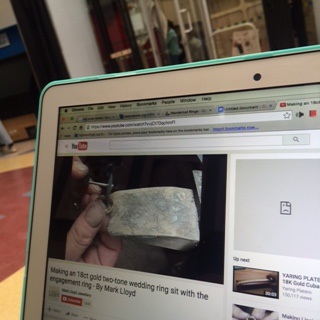
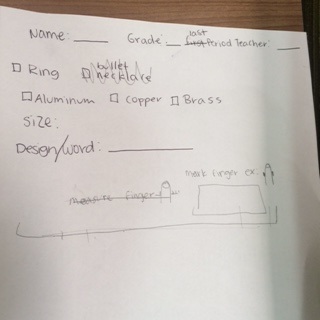
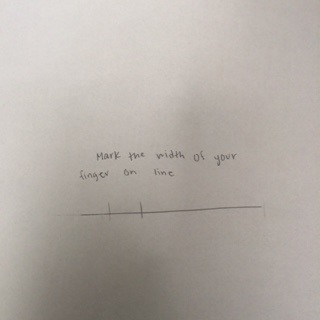
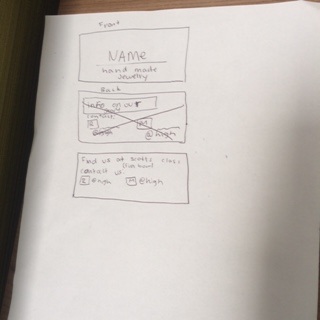
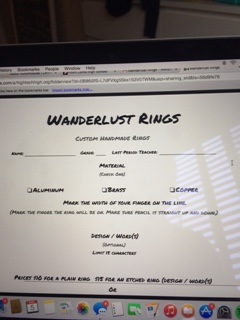
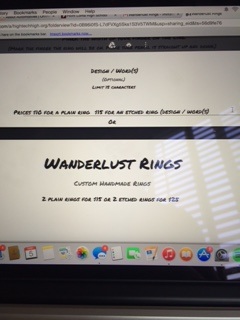
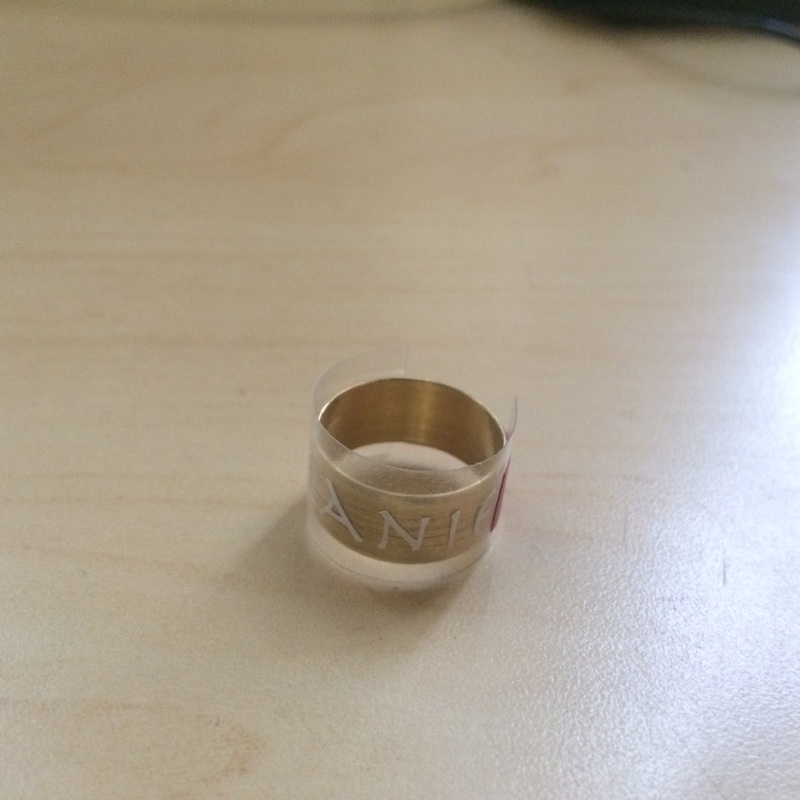
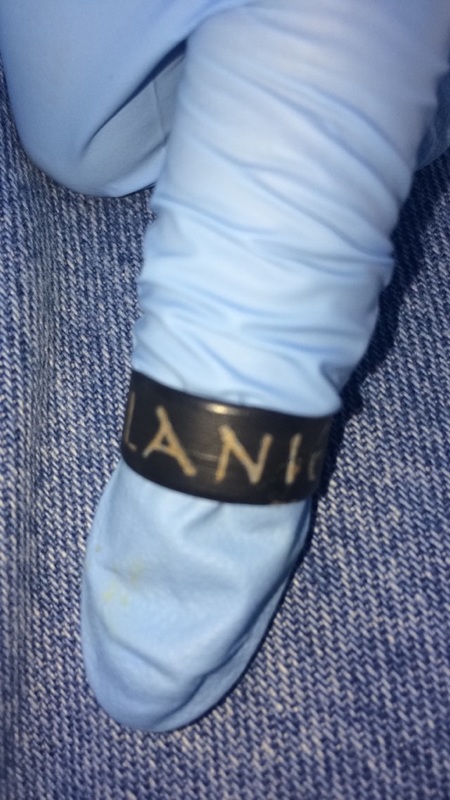
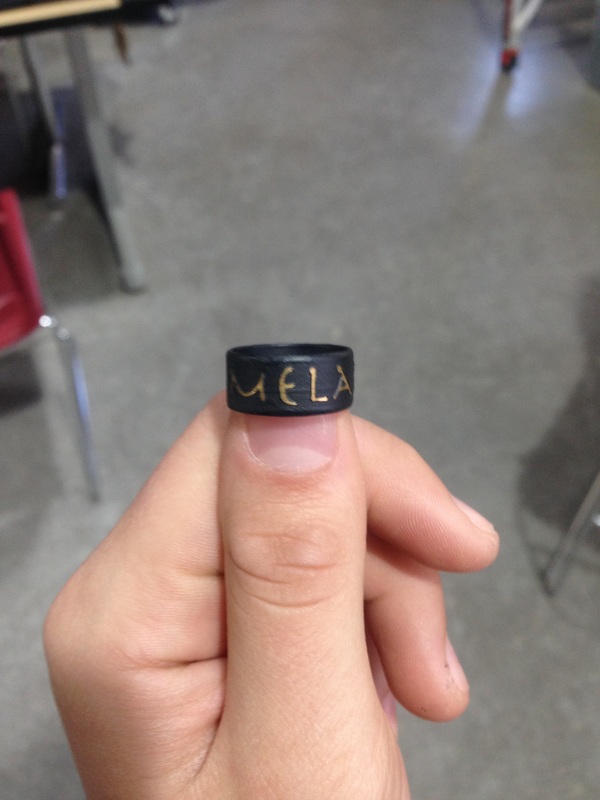
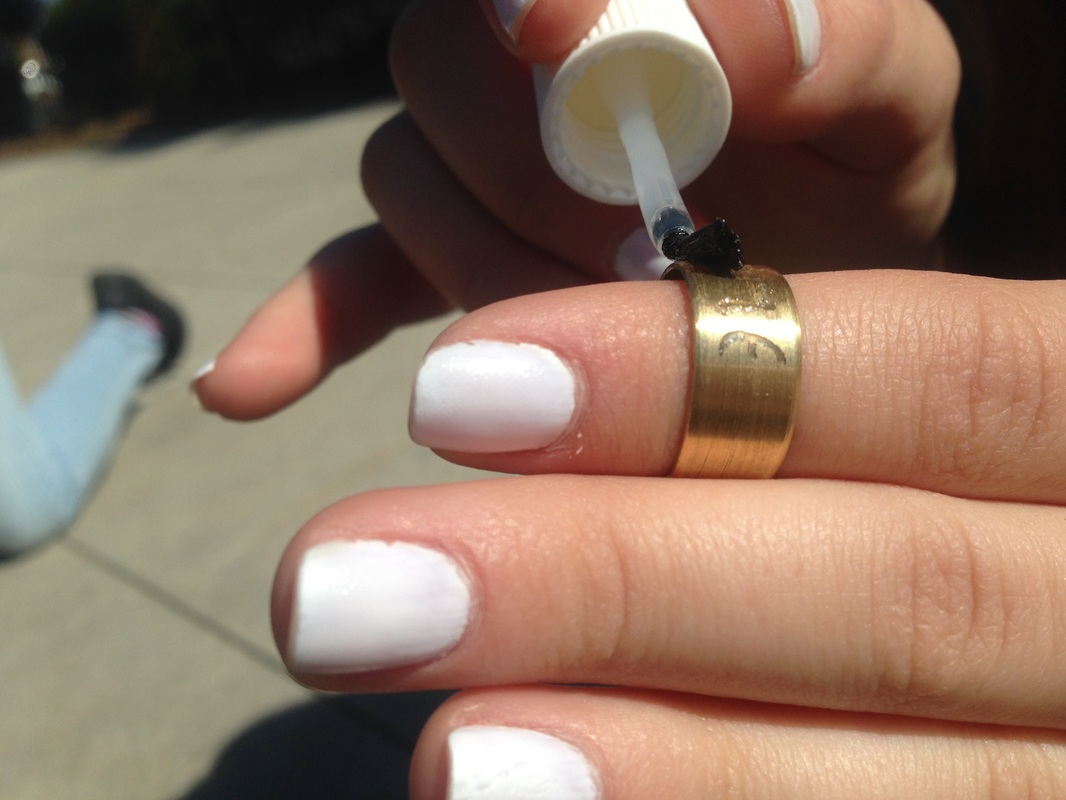
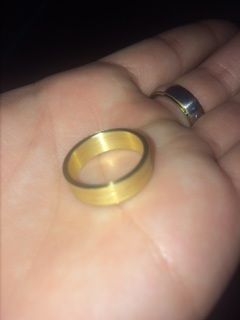
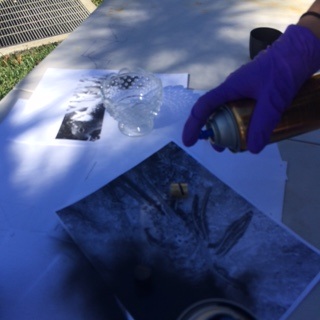
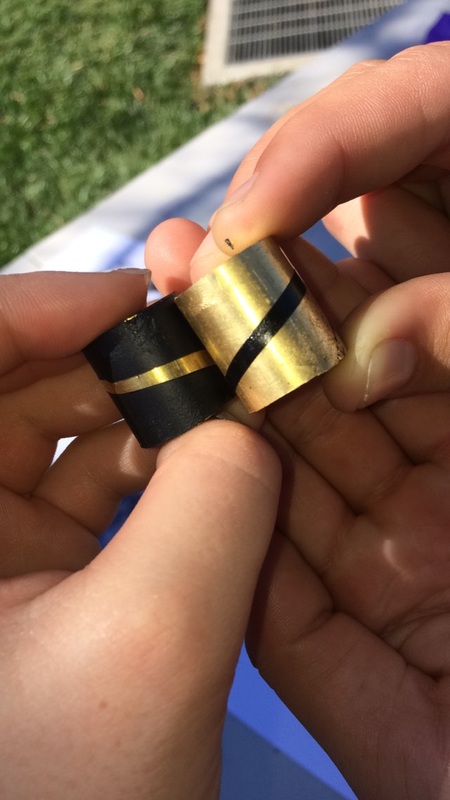
February 29, 2016Today was a Staff Day, so just like the past four weeks or so I wasn't at school on Monday. March 1, 2016On Tuesday we were searching what materials we need for the rings. We were deciding what type of metals we wanted to use and how much we need of each metal. Rachel then left and I continued on the research of what we need and want to do with the rings to sell. I was also looking on how we could incorporate jewels into the rings. I watched some videos but the best one I saw had the ring jetting off the ring, with a little stand, the look Rachel and I are going for doesn't have anything like that so Scott suggested we used Epoxy Glue instead. We are still deciding what we should do. -What if we cut one ring in two, and measure the size of the jewel, and cut the perfect hole for it sharing the cut between the two half rings, the we glue(temporary hold) with it all together, then solder it together, the two half rings so the jewel is stuck -Epoxy Glue to hold the jewel? .-https://www.youtube.com/watch?v=aKtCOw3tLCA March 2, 2016Wednesday Paris asked Rachel and I to help teach her how to make a ring for her side project to make up for last Semester. By making a ring she thinks it will help bump up her grade. Rachel and I started up with showing her the safety, then setting it up for straightening the piece of Aluminum. After that we showed her how to switch tools, and how to face, and surface. While we started to surface it the aluminum was left with an uneven finish, so Rachel and I continued to try different things, checking to see if we skipped a step or did something wrong, but we couldn't figure out what had happened so we left it before we did any damage. While we were teaching Paris how to use the Lathe, she was taking notes. Since we couldn't continue on the Lathe until Scott would help us, I looked over some of her notes and noticed they didn't have all the information needed and some didn't make much sense. I re-wrote her notes and gave her some visual picture to look to for more information. I wrote everything we did on the Lathe that would normally go smoothly. After I finished that I went on the computer to work on this blog since I couldn't work on the Lathe to finish the ring to test the etching again, this time on Aluminum. March 3, 2016Today was not only a Half day so the schedule was weird, but we also had a physical and a fire drill so we had about 30 minutes of class. Scott gave us a survey to fill out on our physics class so during this period I did the survey, and worked on my Blog. There wasn't enough time to work on rings because by the time we would have set up, we would have had to clean it up.  The only evidence I have for Thursday is the Survey from Scott, other then this blog. March 4, 2016Friday was a very productive day, we started off by going to the front desk and asking the girls what kind of materials they want their ring to be made out of, and what they want them to say on it. We then headed back to the class and worked out in the commons. We started off with a few sketches on how we want our business card to look, and then from there we worked on order forms. We came up with a rough draft of what it could look like and what could be on it. From there we went online and started to make another, more professional draft of it. We also had to figure out a way we can measure peoples fingers through the flyer, so Rachel and I came up with and idea. Drawing a straight line across the paper with directions above the line saying "Mark the width of your finger on the line". We weren't sure if people would know how to do it the correct way, so we were going around the class and handed them the paper and told them to fill that part out, not giving them any clues on how to do it. Everyone we asked did it the correct way. When we finished our form, we showed Scott and got approval from him, so then we went back to the front desk and asked if it's still good for us to put our forms on their desk. The girls said how it would be easier to just send an online survey to the entire school, so everyone will see it. Yes, it was a good idea, but then the past period we were basically working for nothing. We decided to keep the original form we had, but also send out an online one. The rest of the period we were working on the online form, but didn't get to finish before school got out. February 22On Monday I was traveling from Dallas, Texas to San Diego, California so I was not in school on then. February 23Tuesday was my first day back in 5 days, so when I came back Rachel and I got started right away. She taught me how to sand the rings so it has a smoother finish then the other sanding machine we tried. The new way we did it, is attaching our ring to the Lathe, and getting a sanding tool. You have to turn the Lathe on a low setting, around 120 and you put the sander on the areas you want. This is a much better option because you have a lot more control of what you are doing and since the ring is spinning instead of the sander spinning, it allows you to get a smoother finish. After we smoothed the ring on both sides and on the inside, we moved into Mikes room to get the Vinyl. As we did last week, we made our sketch of the design/word we wanted on the ring and after many different attempts trying to print it right, we finally got it to work on the heat press vinyl. The only problem was that the letters didn't stick to the ring, so we held it to the ring, and tried out the heat gun to see if it would "melt" the Vinyl onto the ring, so it attaches to it. It worked, so from there we went outside and spray painted the ring black, and peeled off the vinyl. We were debating whether or not we should have left the ring with the black because we really liked the way it looked. That was all we did Tuesday since it was an X-block day schedule. February 24Wednesday we started off with putting the ring in acid. Twenty minutes later, we took it out and the etch looked really good. We took off the black spray paint, and showed it to Mike, Scott, and Rachel at the front desk. We showed the two girls our rings, and they immediately asked for 2 to buy and handed us the money. Both Rachel (my partner) and I realized how good of a business this could be, so we are deciding to sell rings at school. Today we also got the sketch of Paris's ring and printed it out on the same white vinyl and used the heat gun to stick it to the ring. We then spray painted her ring the same black and peeled off the vinyl with hers too. On Wednesday we also talked to a few people and went over to HTM to ask what we should use to seal the rings so the metal doesn't rub off on your finger. Most of the people we asked didn't have an option that was easy and available to us, so we decided to go with clear nail polish to finish the coat and so far, it is working well. February 25Thursday Rachel and I started coming up with ideas for our business as we waited for Paris's ring to etch in the acid. We also went into Liberty Station and bought clear coat nail polish to seal the rings. We re-did the coat multiple times so it didn't have a thick, goopy look to it, and so there were no air bubbles on the ring. After taking out Paris's ring, we then took off the black spray paint and coated hers too. After finishing with both of those, we then took some pictures of the ring for our future flyers for marketing our business. February 26Friday I worked on my blogs the entire period with Rachel, so we didn't work on rings today.
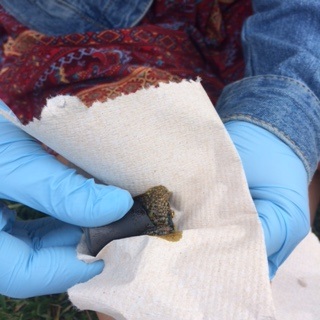
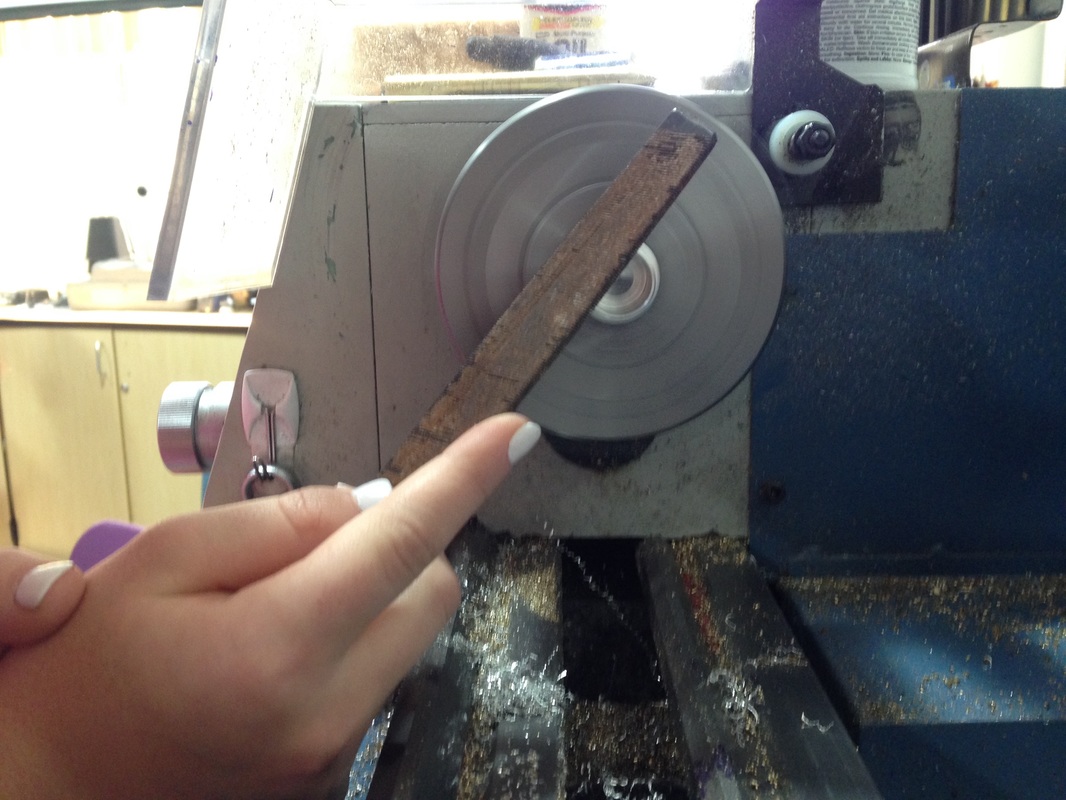
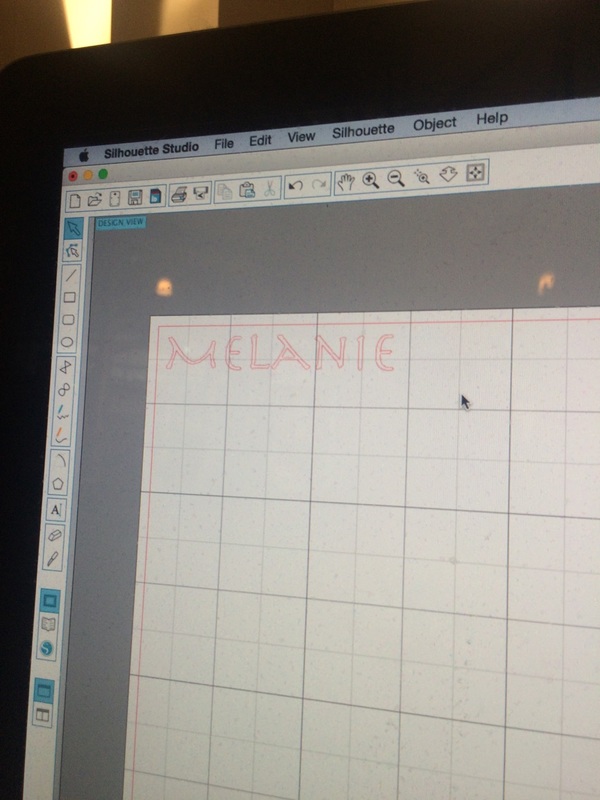
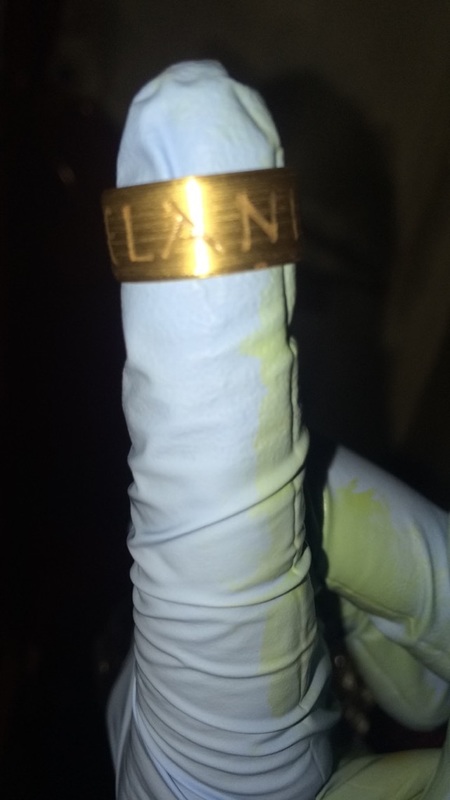
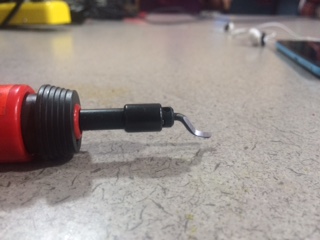
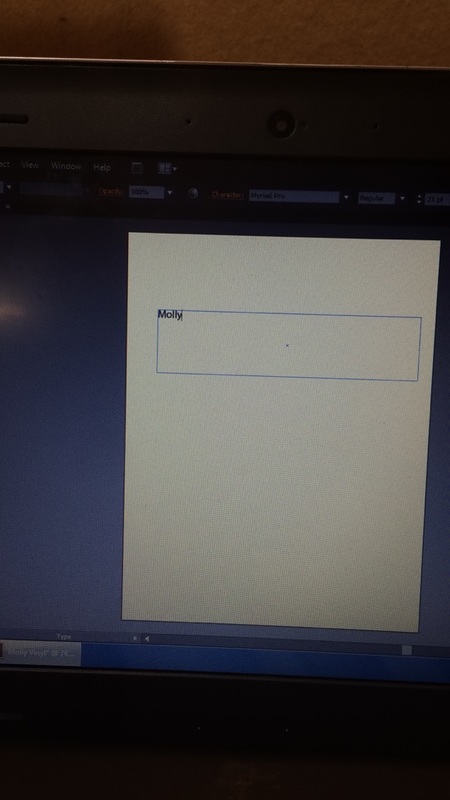
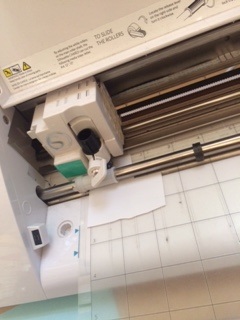
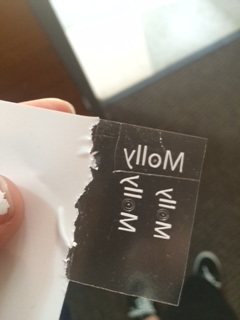
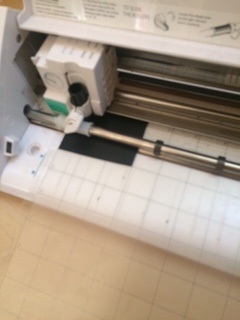
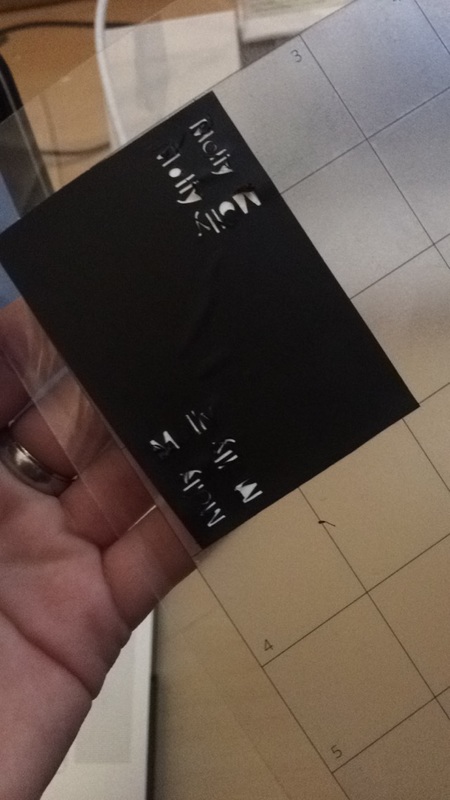
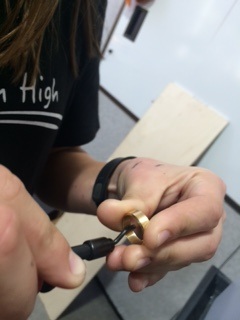
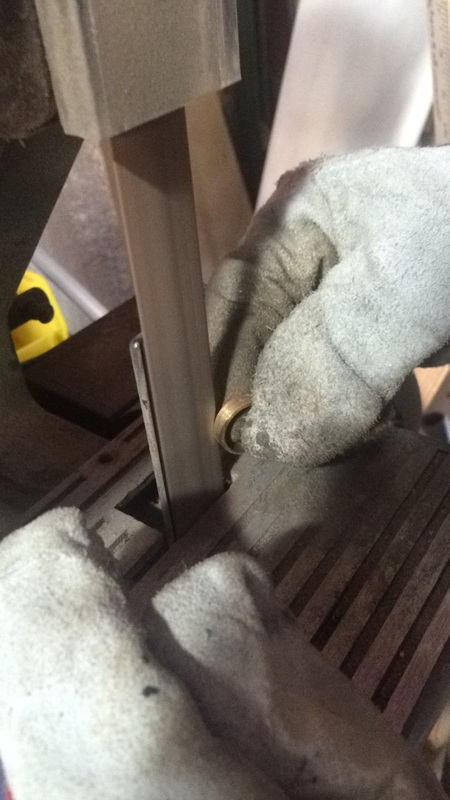
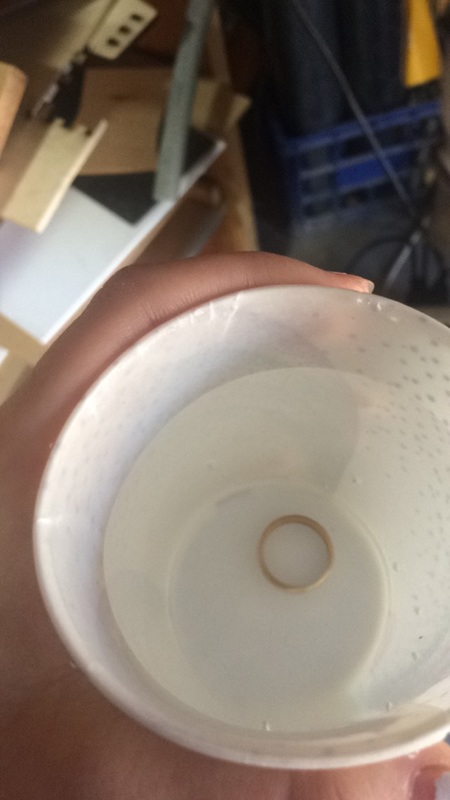
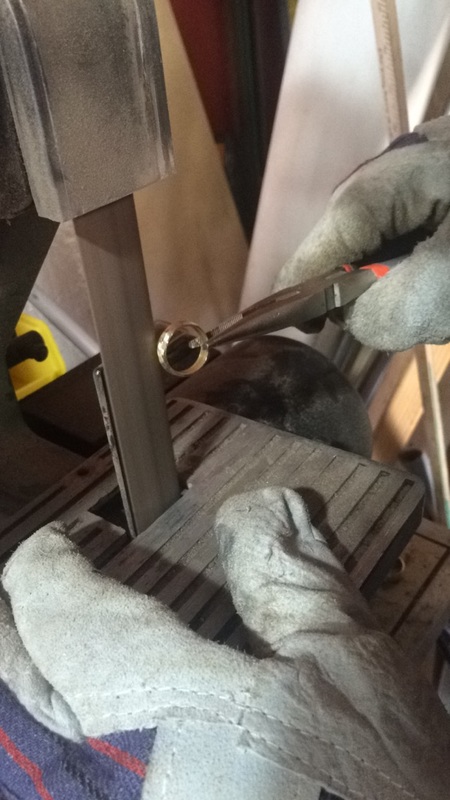
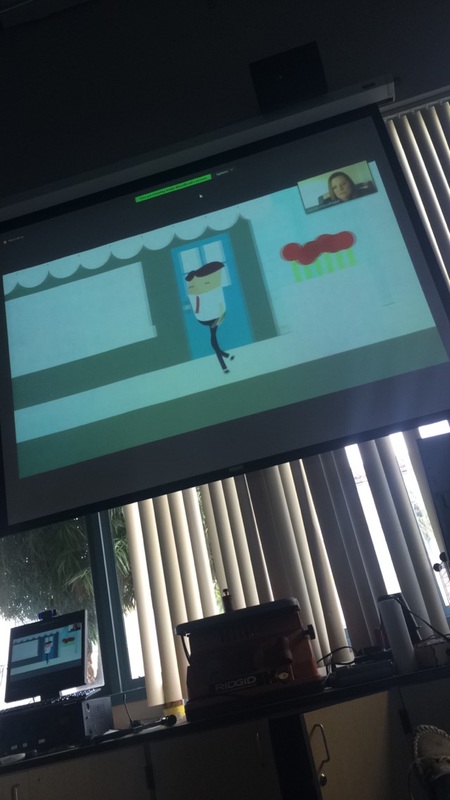
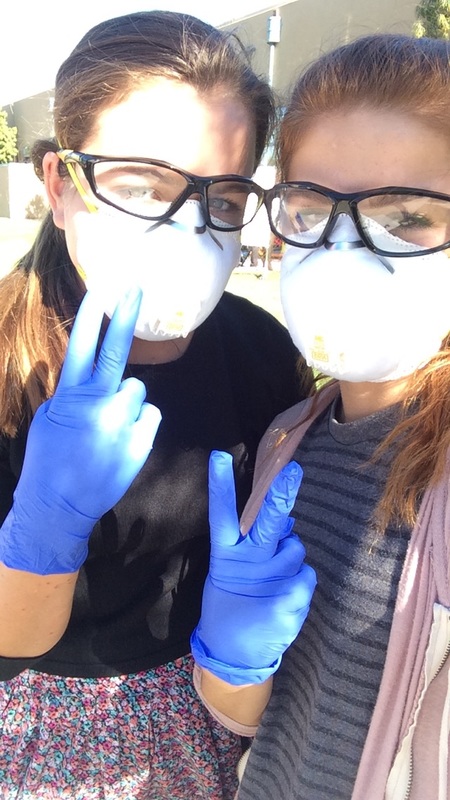
February 15, 2016No School Monday-Presidents Weekend February 16, 2016Tuesday, Rachel was not here again because she was sick so I had to do the project myself since last Thursday she wasn't here either and I wanted to do actual physics. So today I got the finished cut ring we worked on last Wednesday, and we used a tool ("This little thing" as Scott named it) and put it in the middle of the ring and turned it in a circle to smooth the edges so the ring is less likely to cut you. After he taught me how to smooth it down, I then wanted to get the Heat Transfer Vinyl for the etching. I went over to Mikes classroom to figure out what I need to do to get started on it. I first had to make a design of what I wanted the test ring to have on it, so I chose to just do my name and see how that turns out. After creating a stencil of my name on Adobe Illustrator and making it the right size according to the measurements of the ring, I went over to Myles and he got it set up for the printing. We first printed it on the white Vinyl, but the first time didn't cut through the material deep enough, so we had to do it again. After it finally cut all the way through and was the perfect print, we had to take the cut pieces out and separate it from the rest of the material so I can then put it on the ring. In the middle of taking the letters out, Myles asked what I will be doing with it, so I told him how I will be sticking it to the ring and then dropping the ring in acid for it to then etch away parts of the rest of the ring. He realized we were using the wrong kind of vinyl, so we had to throw away the one we were working on, and move onto the other kind, which is the black vinyl. We re-printed it, but every time we printed it, the vinyl kept on ripping because my design was too small. I didn't get to find the solution to the problem before it was time for X-block. February 17, 2016Rachel came back to school on Wednesday, so we started off by getting her ring and then smoothing down the inside of it like what I did Tuesday. After that, we asked Scott to show us how to sand down the outside area of the ring so it won't cut people that way either. He showed us the machine, which is basically a long sand paper that moves like a very fast treadmill, the way it turns. Once you turn the machine on, you hold the ring against the sandpaper, and it will shave off the parts you want off. Scott told us to wear gloves when doing it because if your finger touches the machine, a large chunk of your skin will rip off. So we got gloves, goggles, our ring, and a cup of water. The water is for when the ring gets too hot from the rubbing of the machine, you drop it in the water to cool it off. We first played around with the machine to see what types of sanding we can do with it, smooth, different shapes around the ring, etc. We played with it until we made the desired shape. I liked the un-even, kinda funky different shape look, so for mine we kept it like that. After we did mine, we had to go on Skype with this girl named Jessie. The Skype was from 2:40-3:10. After finishing up the Skype with her, Rachel and I continued on with our rings. We then moved onto her ring and we tried to do more long, smooth edges instead of shorter, un-even edges for mine. Today was more of a practice to see what we can do with that machine, and figure out the little key's to different kinds of "cuts". After finishing Rachel's ring, we then had to clean up the class since we had Advisory schedule. February 18, 2016Not here-Out of town February 19, 2016Not here-Out of town
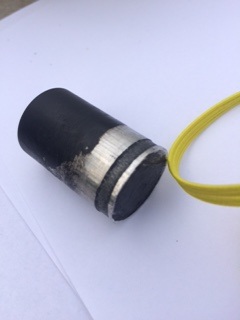
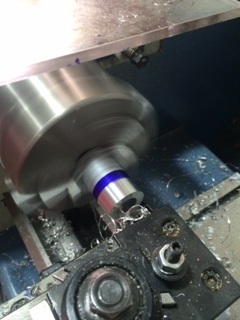
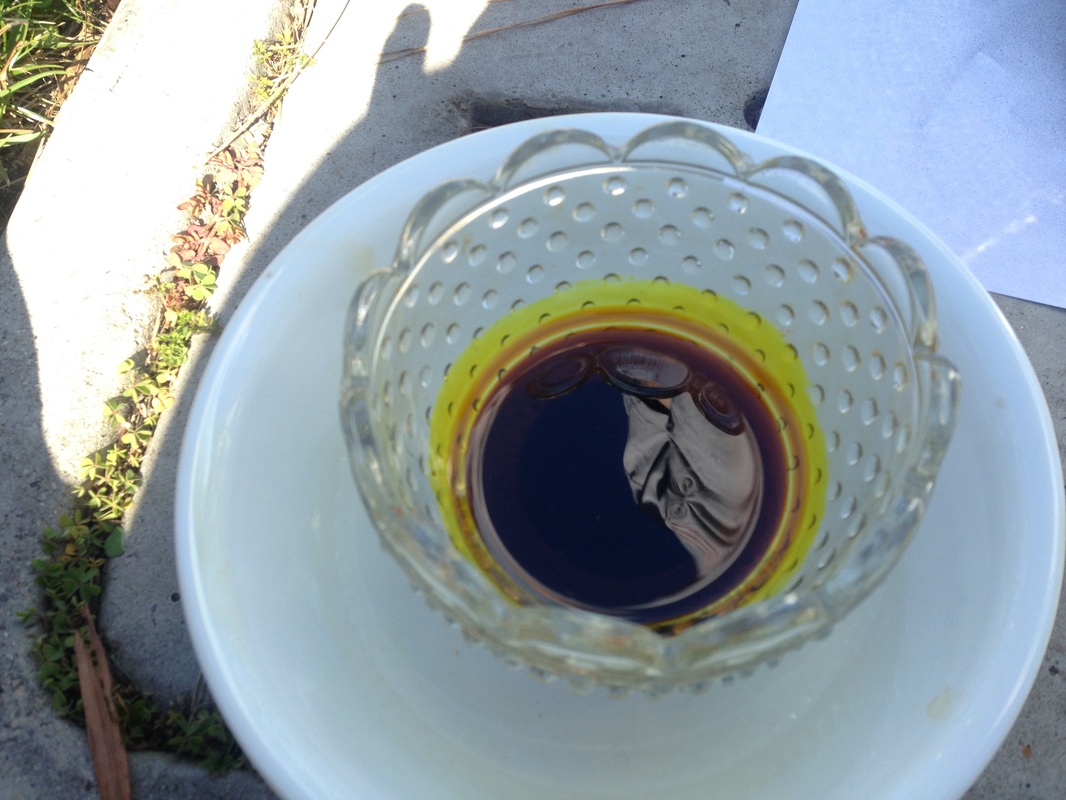
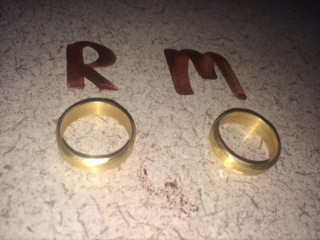
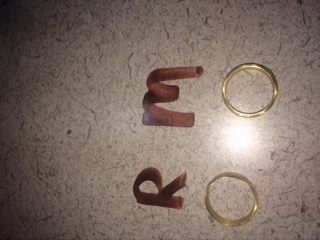
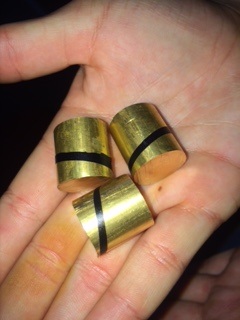
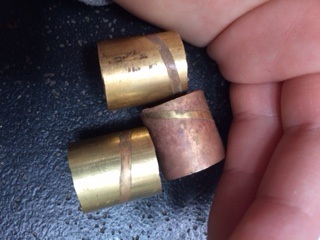
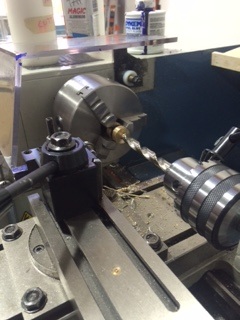
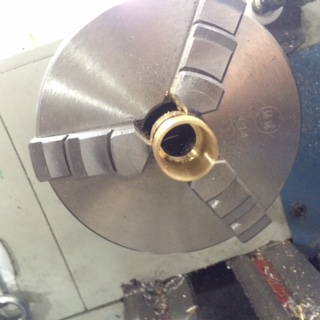
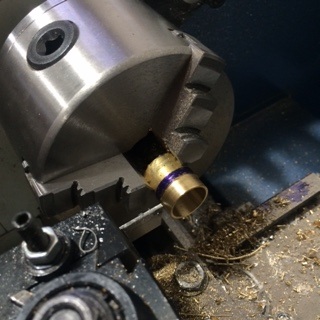
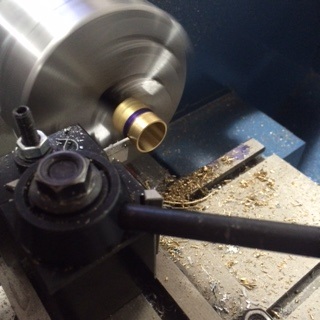
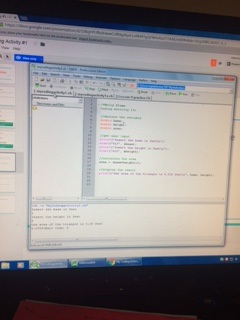
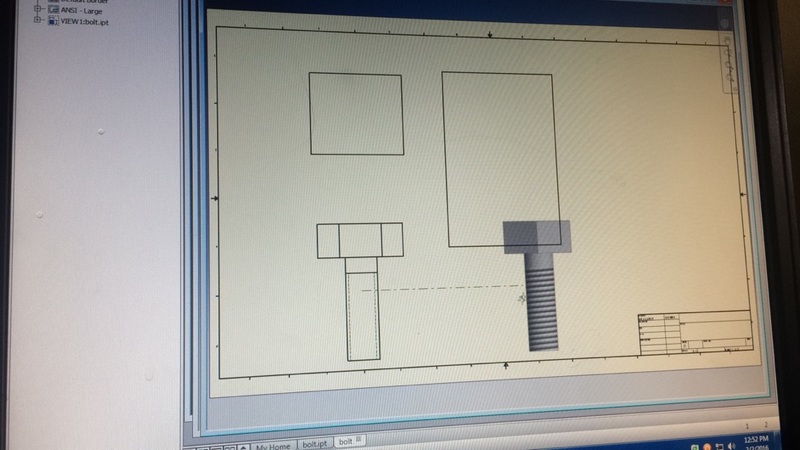
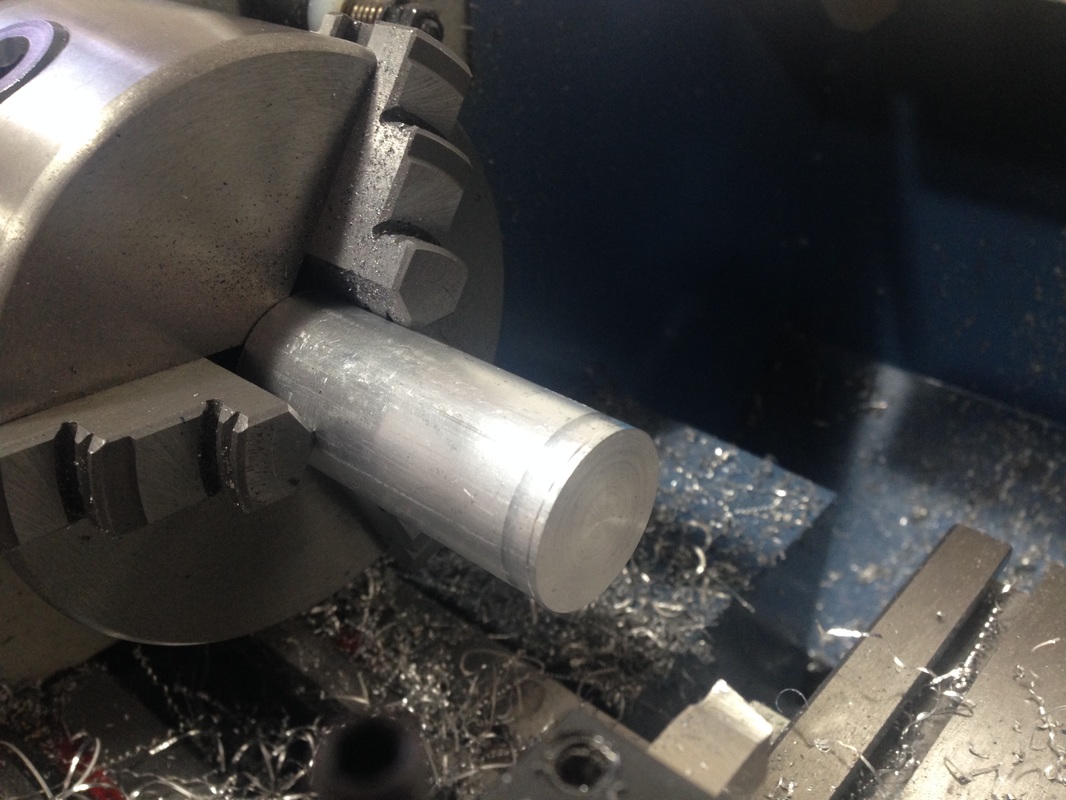
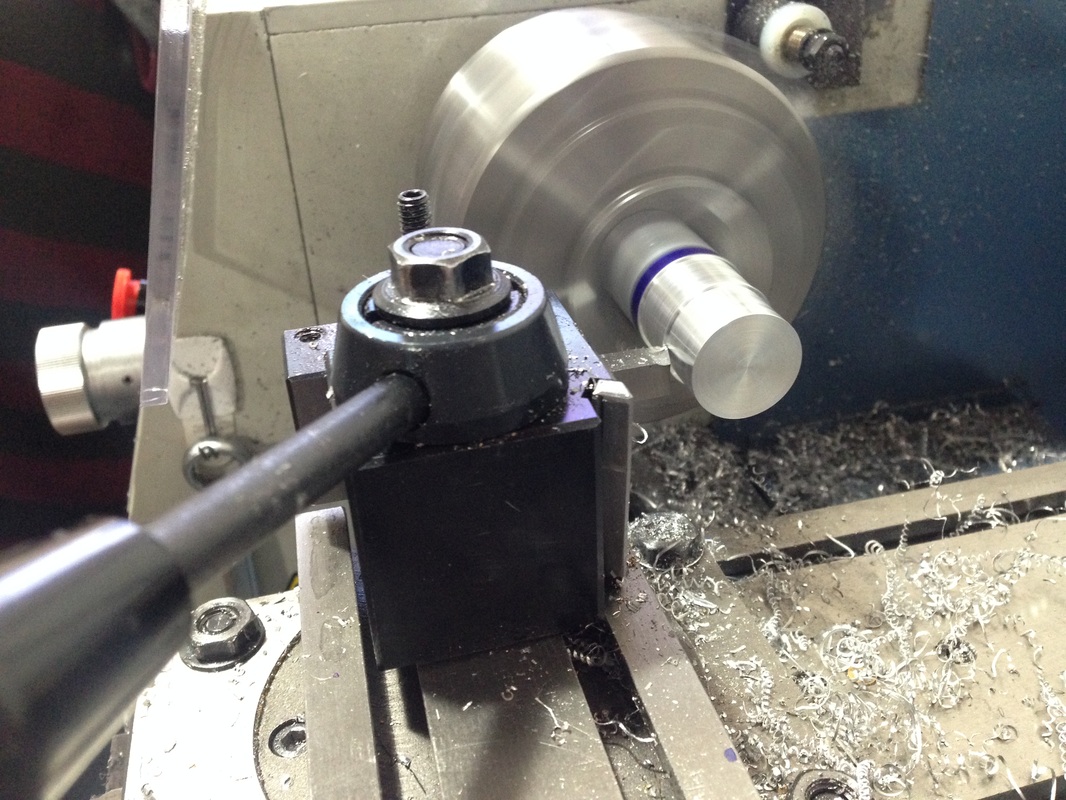
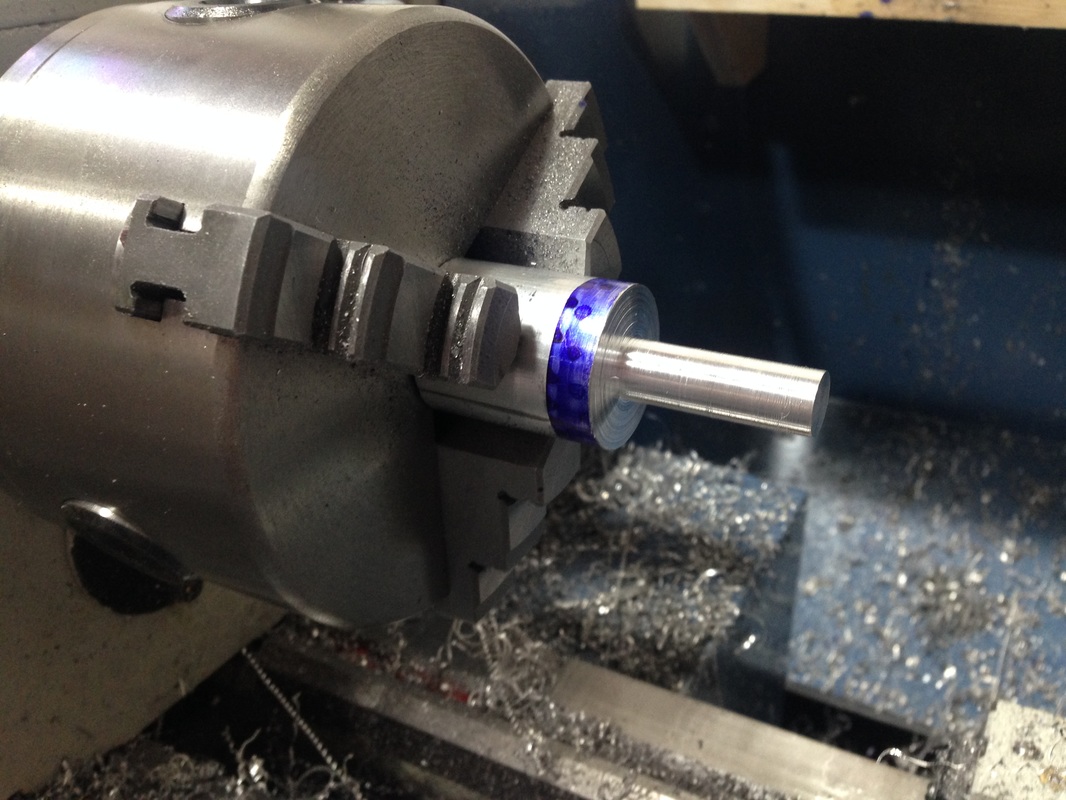
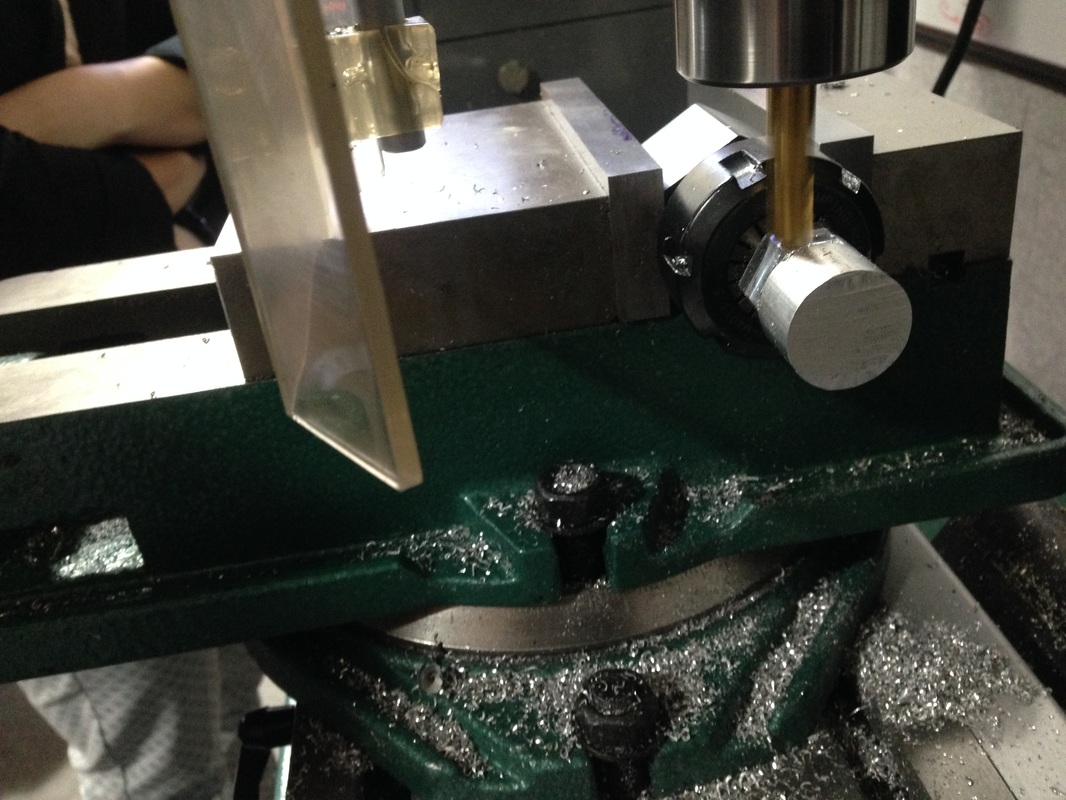
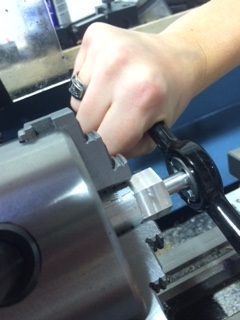
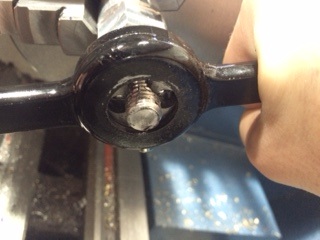
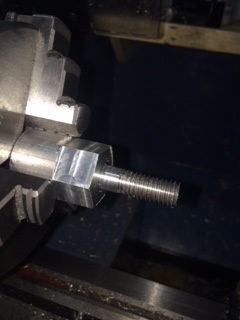
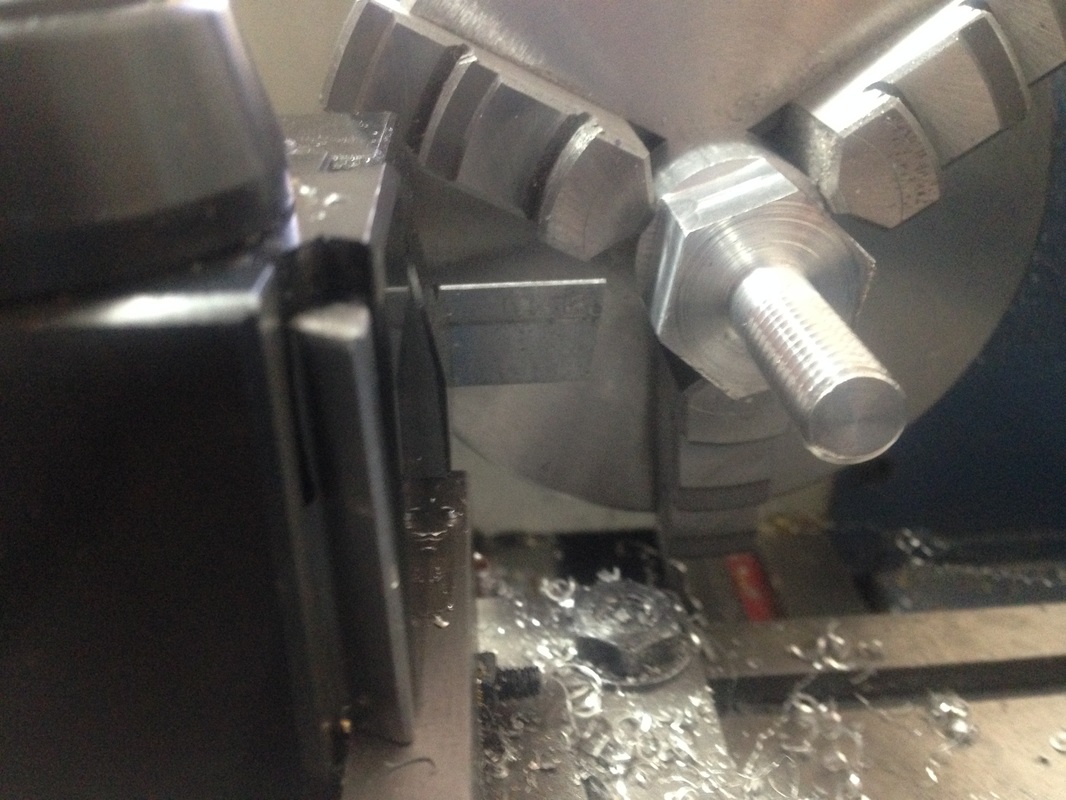
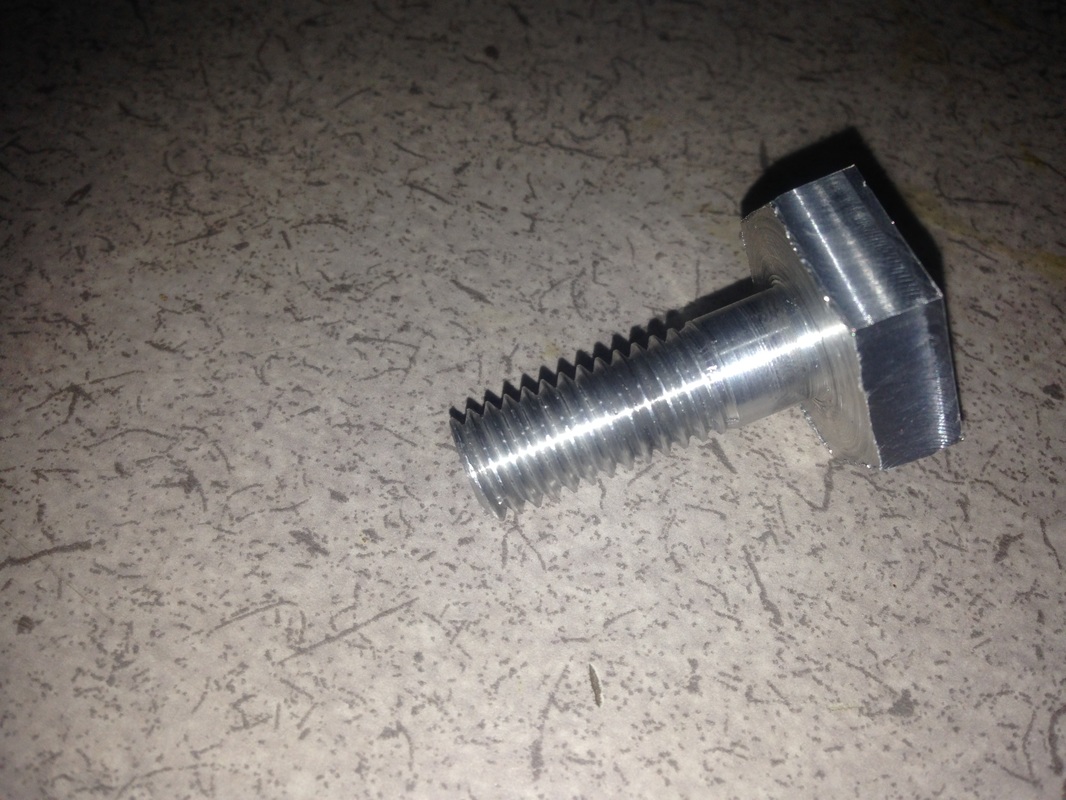
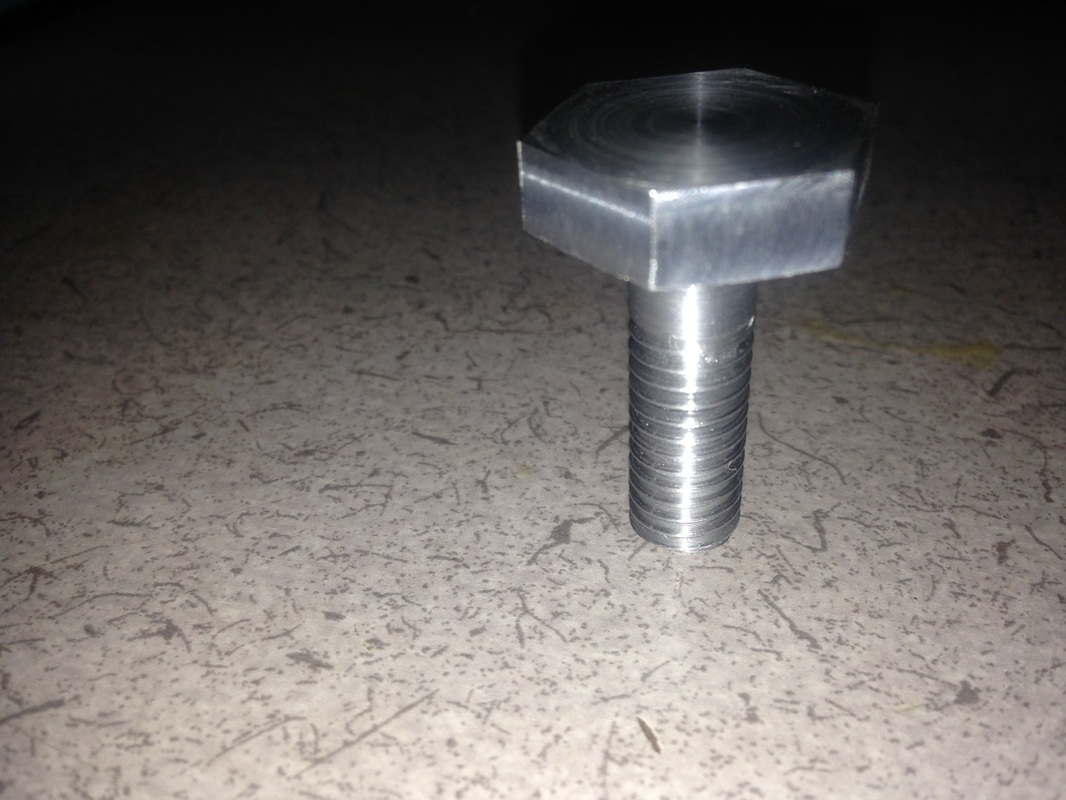
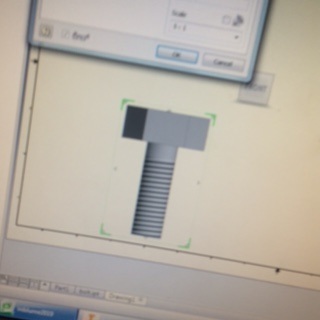
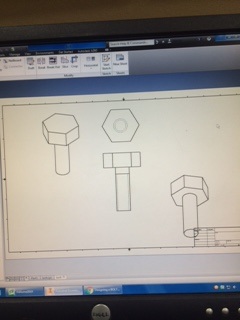
February 8, 2016Monday Rachel and I started off with researching how to etch our rings, which is for our final project. We heard of a couple options from Scott and Phil, so the both of us looked into what the options they said were. We had an option or two, but the ones we considered are Chemically engraving and/or using a Dremel tool. Scott said he has a Dremel tool, he just doesn't have all the size pieces we need. The Acid seems to be an easier use, and a quicker way too. So Rachel and I decided that engraving it chemically would be best. We decided to get started right away, so that's what we did. We got a piece of metal, I believe it was brass, and we wrote HTH on it with a sharpie to see the affect. We then wrapped a zip tie around the brass to keep hold of it, and dipped it in the Chemicals to let it sit there for over 20 minutes. It only did a little work to it, which is fine because we were testing to see what would be the most affective option. Here is a few of the websites we visited to learn more about the chemical engraving and Dremel Tool: February 9, 2016Tuesday we decided to test the chemicals and brass with different ways. We got some heat transfer vinyl and put it on all three of the brass. On one we spray painted it with a thick black, another one we coated it with a clear spray, and the last one we simply just put the Heat Transfer Vinyl right on it. We put all three of them in the chemicals at once so it would be even, and then applied a heat gun to all of them to speed up the process. We found out after peeling the Heat Transfer Vinyl off, that having the Vinyl by itself straight on it, was the most affective and looked the best. February 10, 2016Wednesday we made rings. We got some brass, and cut off a random chunk from it. Then we faced the brass and surfaced it in both directions, making it smooth on all sides. From there we measured out Rachel's finger, and sized the hole we were going to make according to her measurements. We then cut off the amount of ring we wanted, and realized we had enough of it to cut off a ring for me too. The rings fit our pinkies, so on our final one we will have to get a bigger size brass, but they do still work. I would say we need to sand the rings, shape them, and engrave them, but without doing those things we are pretty excited and pretty proud of them so far. February 11, 2016Thursday, both Scott and Rachel weren't here and I didn't want to do anything without both of their permission, so I worked on some coding (even though coding isn't physics, I was making sure I wasn't wasting any of my time). I then worked on this blog for the remaining time. February 1,I wasn't at school Monday. February 2On Tuesday Rachel and I finished drawing the bolt on Autodesk Inventor. Before we finished the sketch design of it, but we finally figured out how to get the drawing of it, which there we could get the measurements we needed. We then got a 1 inch thick cylinder of aluminum and cut it to the size we need, which we chose it to be 2 inches long. After we finished cutting the aluminum to the right size, we then moved it onto the lathe where we would face the cylinder. Facing is when you take off the outer layer of your object when on the lathe, making it look smooth and have a clean cut. February 3Wednesday we read an article about Introverts and Extroverts, which was about different kinds of students. Introverts are the people who stay quiet and don't voice their opinions as much. The Extroverts are the people who talk a lot and are heard more. Since Introverts are more to themselves and quiet, people often mistake them to be not as bright as Extroverts. When someone asks a question to a group of people, an Extrovert is more likely to answer. Not that an Introvert doesn't know the answer, but because maybe they don't like the attention it will get. After reading and discussing the article within the class, Rachel and I went back to work on the bolt some more. We put the Aluminum cylinder (bolt) on the Mill, where we then shaped it to become a polygon instead of a circular shape. Since Scott was working with a lot of people, Rachel and I started to work on our proposal and final product while we waited for him to help us out. February 4Thursday Rachel and I finished the proposal, to the point where all we had to do was show him our proposal and get it approved. We went to Phil to check over it first and get critique. He gave us some good tips and new ideas both Rachel and I didn't think about. We also made the grooves in the bolt, which is called threading(images below). We did spend some time waiting for Scott, but then when it was longer than 5 minutes, we moved over to the Proposal and worked on it there to get it improved.
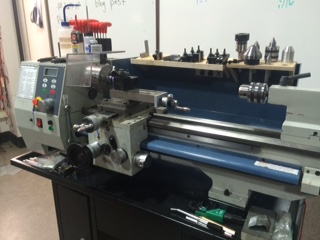
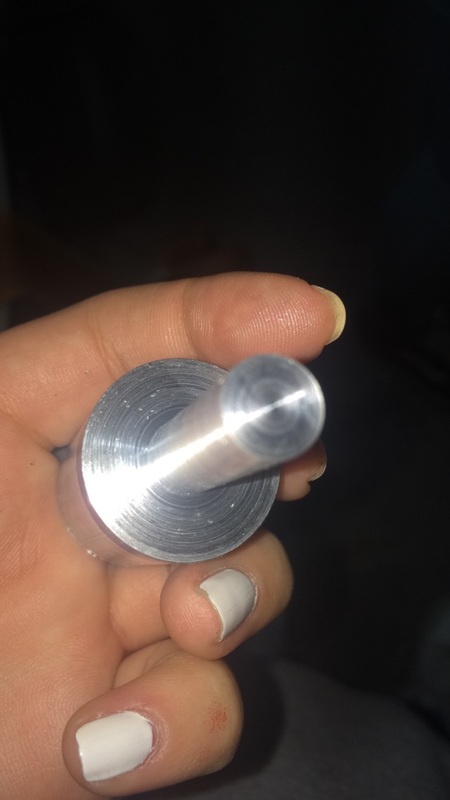
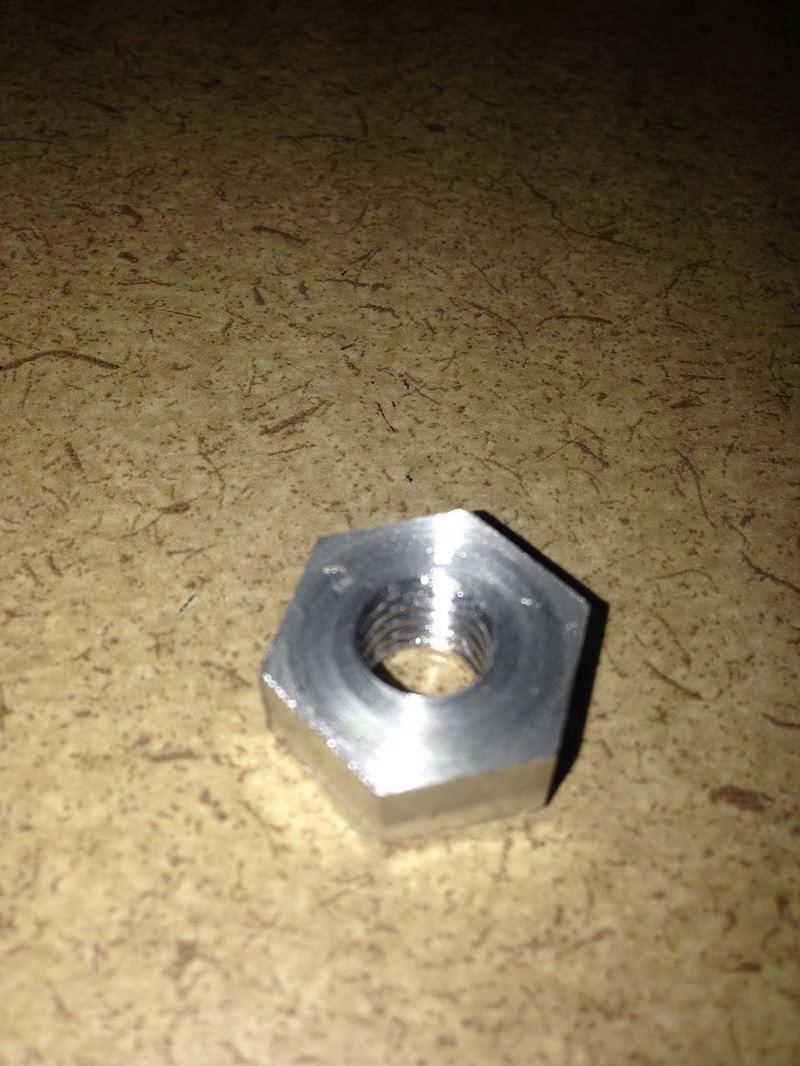
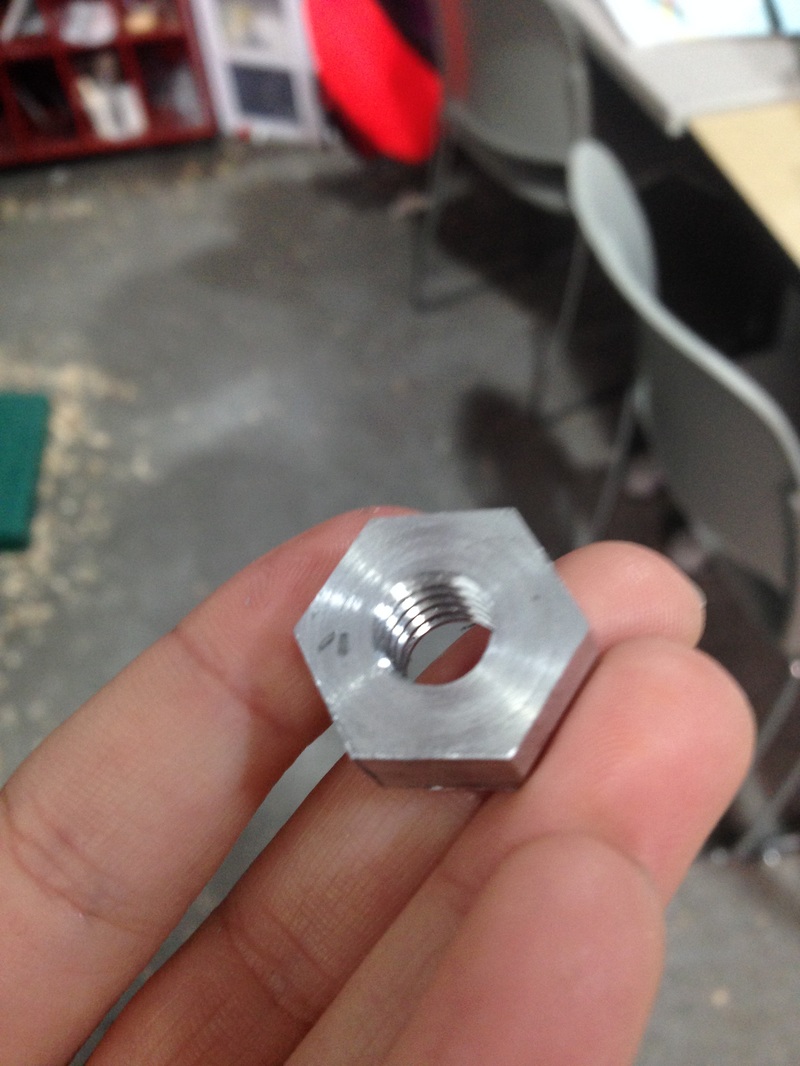
February 5Friday we proposed our final product idea to Scott. We showed him what we came up with, and he mainly said it looked good, plus some other tips and ideas that we can do. Today we also finished the bolt. Here we cut the bolt to the right size, and faced it again. The last thing I got to do in class today was make my blog. We also had a period for outside games at the bay so we had just over one period to work on all of our stuff. Monday, January 25Today Scott showed the kids who are working on CAD and Machining for the starter project how to use the Lathe. A Lathe is a machine used for shaping wood, metal or other materials by means of a rotating drive that turns the piece being worked on against different cutting tools. After we learned how to use it, and tried it out a little, Rachel and I started to work on the Nut again but this time, on the Lathe. Making a cylinder to start it out.  This is the start of the Nut itself. This is right after we used the Lathe, cutting the metal to the right length. It is now placed in the Mill, about to be shaped into a Polygon. Tuesday, January 26On the 26th Rachel and I continued to work on the nut. I know we've been working on it longer then expected, but it is our first time using the machines so not only do we want to use them correctly, but we also want to make our work good quality. So the main thing we did today was shave off the sides of the nut, so the nut was a cylinder, it now has the shape of a polygon. 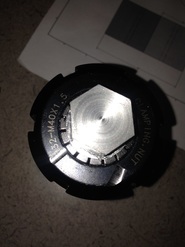 This is the nut right after we shaped it to become a Polygon. We finished using the Mill, so next we move onto the Lathe to make a hole right in the center of the Polygon. Wednesday, January 27Today we finished the nut. We made the hole in the middle of the Polygon shape(nut), and from there Rachel and I made the grooves inside of the hole so it can attach to the Bolt when you twist it on. After finishing the nut, I started to work on the bolt. Again we used AutoDesk Inventor to create a virtual bolt I will be creating. I finished making it online, but didn't have time to go farther with it. Thursday, January 28On Thursday I was kind of distracted. I was working on this blog, but was really tired so it was hard for me to focus. I ended up working on the blog the entire time, which I could have also worked on the bolt for part of the time. I've been really on task for the past two weeks and I think this was just a one day kind of hiccup. I know this won't happen often, I just was really tired which caused my distraction. Friday, January 29Today I started up with the bolt again, trying to turn the virtual example into a drawing of it, but couldn't figure it out. Before I could fix it, Scott asked me to help Ivan make his bolt on the Mill, so I did. I helped show Ivan how to get set up (me remembering and learning along the way again) and also got him started on making the head of the bolt a polygon shape. This took up the entire time, since we only had one period due to the rest of the time we were outside at the bay.
I took photos of my progress but they are all on Ivan's phone. I will update my blog when I get them to show my work. Tuesday-Jan, 19The 19th was our first day back from Intersession and Winter Break. Since it was our first real day back this semester, we mainly just went over what Scott is expecting from us this semester, and what we will be working on. We explored the Starter packet and our Main project options. Wednesday-Jan, 20 The 20th we worked on our first blog. You can find my first blog below this entire blog. I also had to fill out my proposal and get it signed, which is down below with a section of my first blog. Thursday-Jan, 21Thursday I worked on making a virtual Nut on Autodesk Inventor. Both Rachel and I were figuring Autodesk Inventor while we were making her Nut. We also got some help from Scott, and other classmates, but mostly from this video- 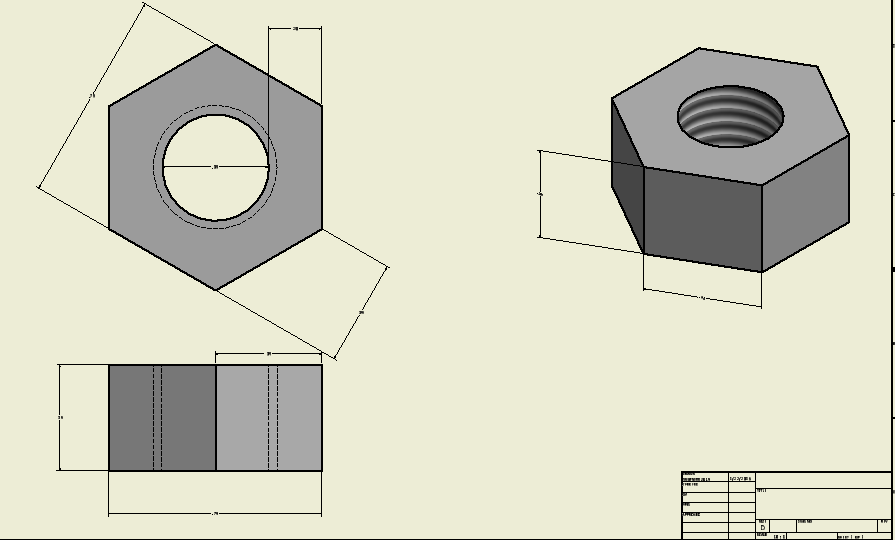 Here is the Nut I worked on with Rachel. Friday-Jan, 22On the 22nd, I worked on making the Bolt design. Using what I learned on Thursday and this video as a helper. I also have the start to my Bolt design next to the video.
Along with starting to make my Bolt design, Scott showed the kids who were working on the CAD and Machining Starter Project the basic ways on how to use the Mill.
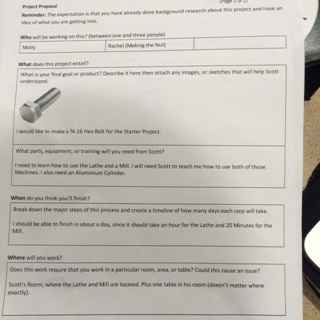
From this past day or two this new class structure isn't what I would prefer. It's not that I mind doing work or learning, it's that at the start of the year we were laid back, and free to do what we needed to do to finish our project. I feel like right when this new semester started it's almost as if my teachers handed me a stack of heavy books to study tonight. I feel a whole bunch of weight pulling me down and it's starting to stress me out. Last semester we had to do a blog post once a week for math, and I feel like a lot of the students struggled with it, and now having to do it in physics, I feel like we would lose time when doing our blogs, when we could be working on our project. Especially since it is due each Friday when school gets out. I think the project themselves are great fun ideas, which gives the students a nice variety to choose from. At first I was nervous that this project would be boring, but now I am looking forward to getting started. CAD and Machining isn't my first choice, but I would love to do the starter pack to see if I like it more then my other choice. I'm really interested in using the Lathe, and making things. I feel like having these types of skills at this age is really awesome and will most likely be helpful for my future. Other then CAD and Machining, Programming is my first choice. I would love to do Programming because once I saw the little demo video I immediately thought of what I could do. I'm really interested in making a video to a song or two. I don't know that much about programming, but I am excited to learn about it. I imagine doing something cool to a song that is similar to a waterspeaker- https://www.youtube.com/watch?v=fScV97JzycM I want to work in groups, I also believe we should choose whoever we want (friends, or people we normally work with included). I say this because me personally, I feel really comfortable with my friends, both trusting them with my project, and working with them on a project. I feel comfortable enough to tell them what I like and don't like when they do something, which is something I don't feel comfortable doing with other classmates. I know who I work well with, like Rachel and I make a great team, I also know who I don't work well with, so I won't put myself in that kind situation. I know what I can do and handle, so I feel like we should be able to choose who we get to have in our groups, to a certain extent. I think if we work in groups we can produce more great quality work (with the right person), then if we did it individually. For the Starter Project I would love to make a nut and/or a bolt. I think starting to get to know new tools would be really helpful, and I am interested in learning how to make these kinds of things.  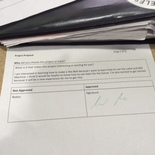 |
AuthorWrite something about yourself. No need to be fancy, just an overview. Archives
March 2016
Categories |


 RSS Feed
