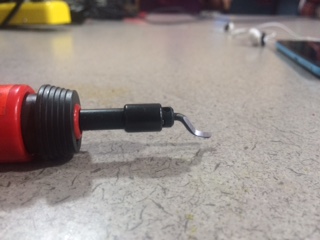
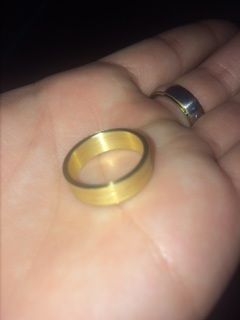
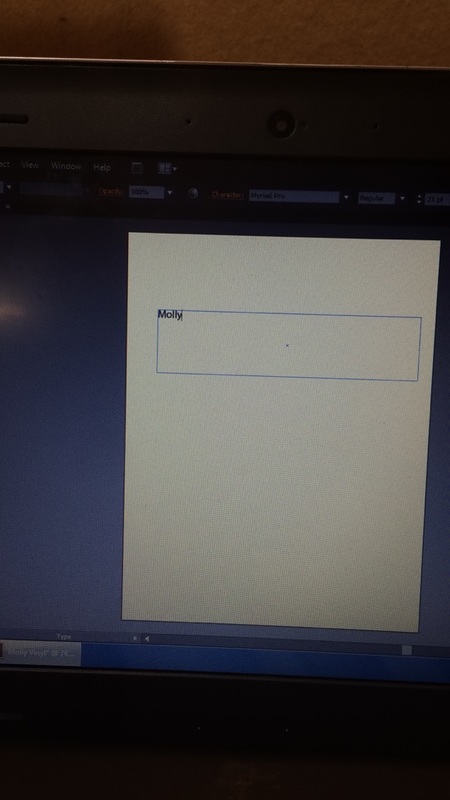
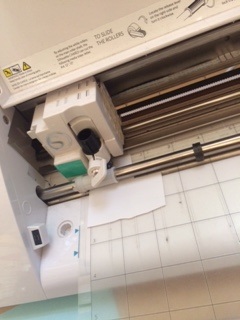
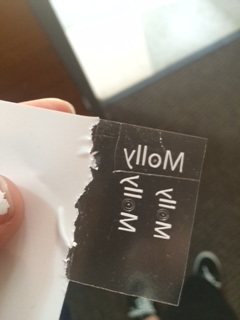
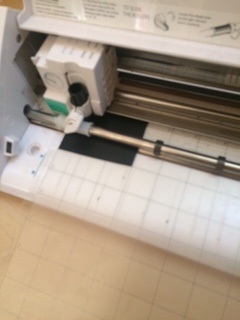
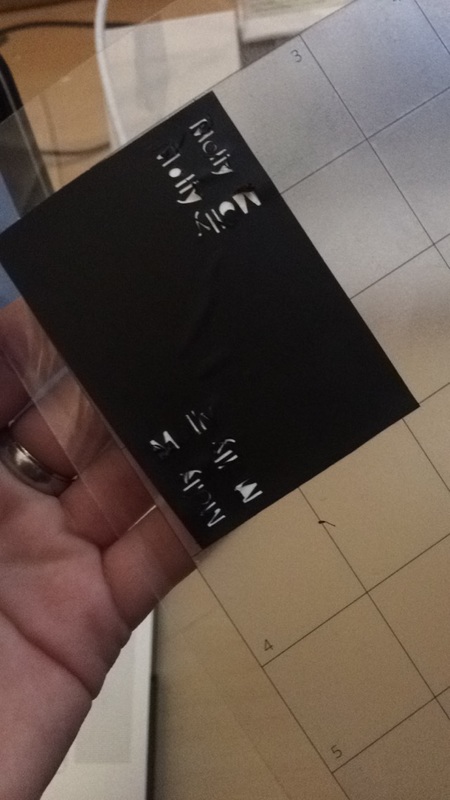
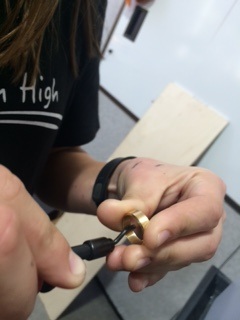
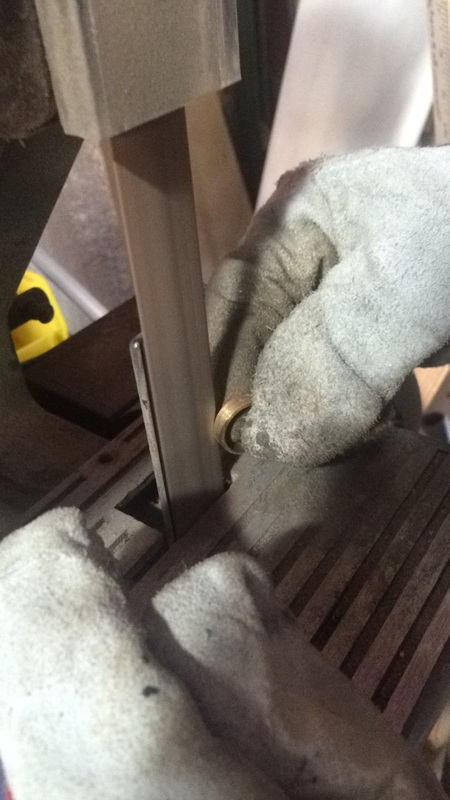
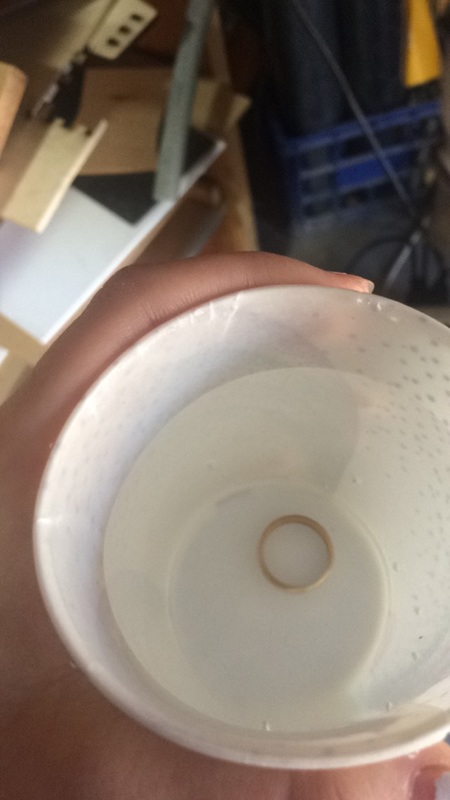
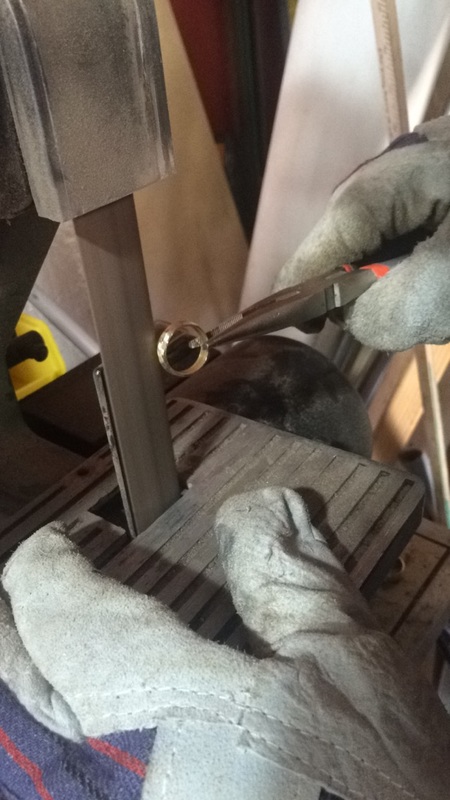
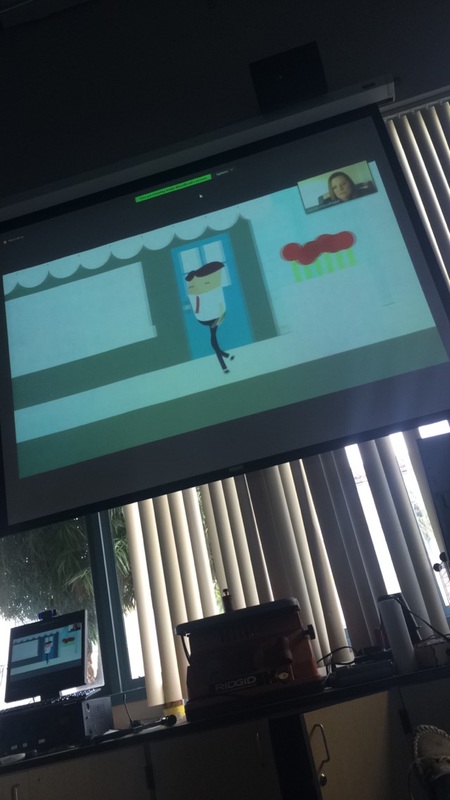
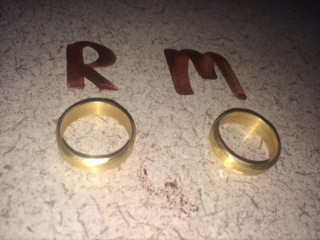
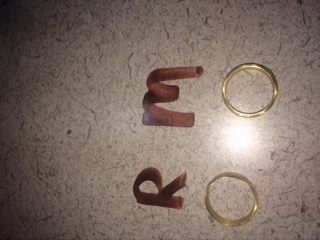
February 15, 2016No School Monday-Presidents Weekend February 16, 2016Tuesday, Rachel was not here again because she was sick so I had to do the project myself since last Thursday she wasn't here either and I wanted to do actual physics. So today I got the finished cut ring we worked on last Wednesday, and we used a tool ("This little thing" as Scott named it) and put it in the middle of the ring and turned it in a circle to smooth the edges so the ring is less likely to cut you. After he taught me how to smooth it down, I then wanted to get the Heat Transfer Vinyl for the etching. I went over to Mikes classroom to figure out what I need to do to get started on it. I first had to make a design of what I wanted the test ring to have on it, so I chose to just do my name and see how that turns out. After creating a stencil of my name on Adobe Illustrator and making it the right size according to the measurements of the ring, I went over to Myles and he got it set up for the printing. We first printed it on the white Vinyl, but the first time didn't cut through the material deep enough, so we had to do it again. After it finally cut all the way through and was the perfect print, we had to take the cut pieces out and separate it from the rest of the material so I can then put it on the ring. In the middle of taking the letters out, Myles asked what I will be doing with it, so I told him how I will be sticking it to the ring and then dropping the ring in acid for it to then etch away parts of the rest of the ring. He realized we were using the wrong kind of vinyl, so we had to throw away the one we were working on, and move onto the other kind, which is the black vinyl. We re-printed it, but every time we printed it, the vinyl kept on ripping because my design was too small. I didn't get to find the solution to the problem before it was time for X-block. February 17, 2016Rachel came back to school on Wednesday, so we started off by getting her ring and then smoothing down the inside of it like what I did Tuesday. After that, we asked Scott to show us how to sand down the outside area of the ring so it won't cut people that way either. He showed us the machine, which is basically a long sand paper that moves like a very fast treadmill, the way it turns. Once you turn the machine on, you hold the ring against the sandpaper, and it will shave off the parts you want off. Scott told us to wear gloves when doing it because if your finger touches the machine, a large chunk of your skin will rip off. So we got gloves, goggles, our ring, and a cup of water. The water is for when the ring gets too hot from the rubbing of the machine, you drop it in the water to cool it off. We first played around with the machine to see what types of sanding we can do with it, smooth, different shapes around the ring, etc. We played with it until we made the desired shape. I liked the un-even, kinda funky different shape look, so for mine we kept it like that. After we did mine, we had to go on Skype with this girl named Jessie. The Skype was from 2:40-3:10. After finishing up the Skype with her, Rachel and I continued on with our rings. We then moved onto her ring and we tried to do more long, smooth edges instead of shorter, un-even edges for mine. Today was more of a practice to see what we can do with that machine, and figure out the little key's to different kinds of "cuts". After finishing Rachel's ring, we then had to clean up the class since we had Advisory schedule. February 18, 2016Not here-Out of town February 19, 2016Not here-Out of town
0 Comments
Leave a Reply. |
AuthorWrite something about yourself. No need to be fancy, just an overview. Archives
March 2016
Categories |
 RSS Feed
